
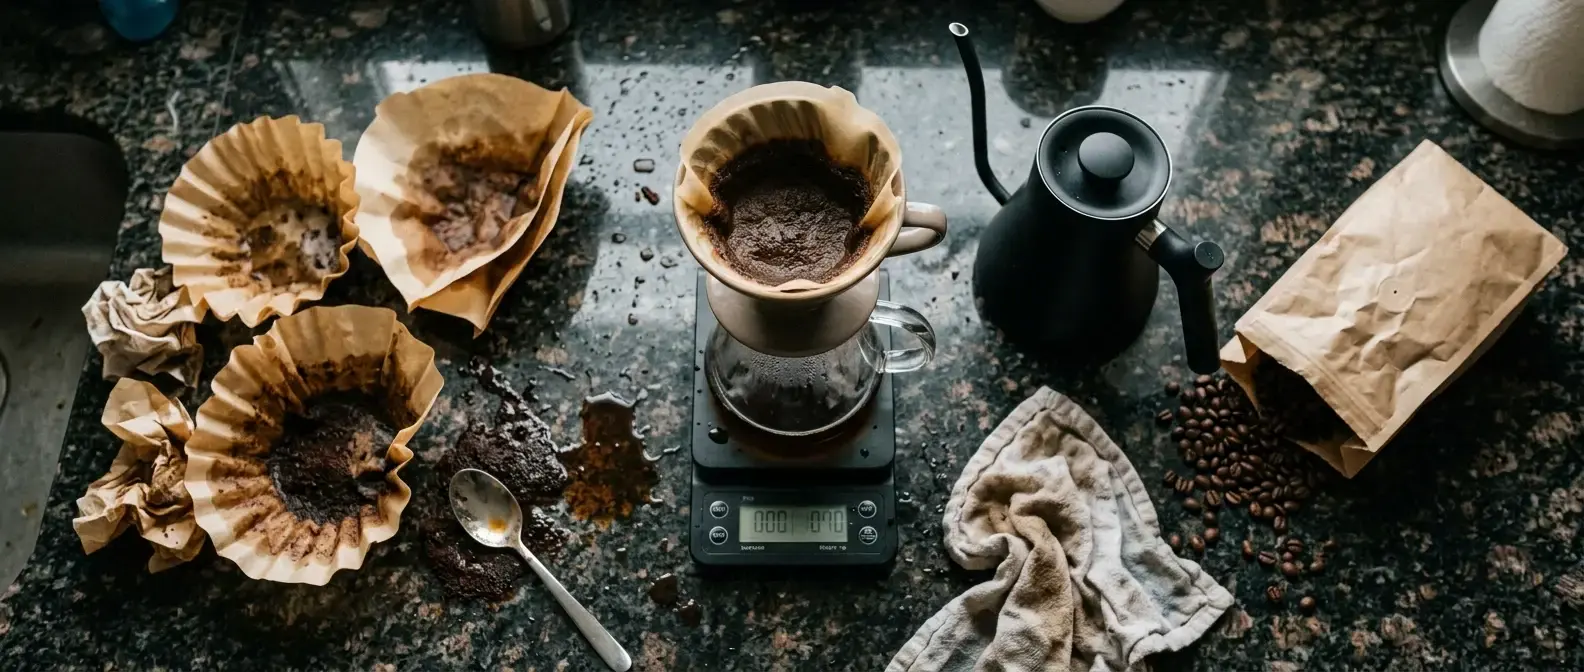
Most people dial in coffee the way they’d fix a car by replacing random parts until it starts. They taste something off, change the grind, the water temperature, and the pour speed all in the same brew, then wonder which fix actually worked. The process below walks you through how to dial in coffee without wasting beans, using small test brews and one change at a time, so you land on your best cup using a fraction of what random guessing burns through.
There’s a better way to do this, and it costs you grams instead of ounces.
What Dialing In Actually Means (And What It Doesn’t)
Dialing in means adjusting your variables, grind size, coffee-to-water ratio, brew time, and water temperature, until the cup in front of you tastes the way you want it to. That’s the whole goal. It doesn’t mean finding some universal “correct” recipe that works for every bean, every roast level, and every brewer.
A washed Ethiopian and a dark-roasted Brazilian will not want the same grind size or the same ratio. Dialing in is specific to the beans in your hopper right now, the brewer you’re using, and your own taste. Once the beans change, some of that work needs to happen again, though usually not from zero.
It also doesn’t mean chasing a perfect number or a timer that someone else swears by. Those tools help, but the real target is a cup you actually want to drink again tomorrow.
The Real Cost Of Random Guessing: Beans, Time, And Money
Say a bag of specialty beans runs somewhere in the mid-teens to twenty dollars and yields around 12 to 15 full pour overs at a normal ratio. If you’re guessing your way through adjustments by brewing full-sized cups each time, four or five “bad” test brews can eat a third of that bag before you’ve found anything worth repeating.
Multiply that across every new bag, because most people re-dial-in every time they switch beans, and the cost adds up fast. It’s not just money. It’s the mornings you spent drinking a cup you didn’t enjoy, and the beans that went stale in the bag while you worked through them one guess at a time.
The fix isn’t to stop experimenting. It’s to experiment in smaller batches, with a clear order of operations, so every test teaches you something specific instead of adding noise.
Start With One Baseline Recipe Before You Touch Anything
Before you change a single thing, you need something to change it from. Pick one baseline recipe and brew it exactly as written the first time, no adjustments, no “I’ll just grind a little finer because I think I know better.”
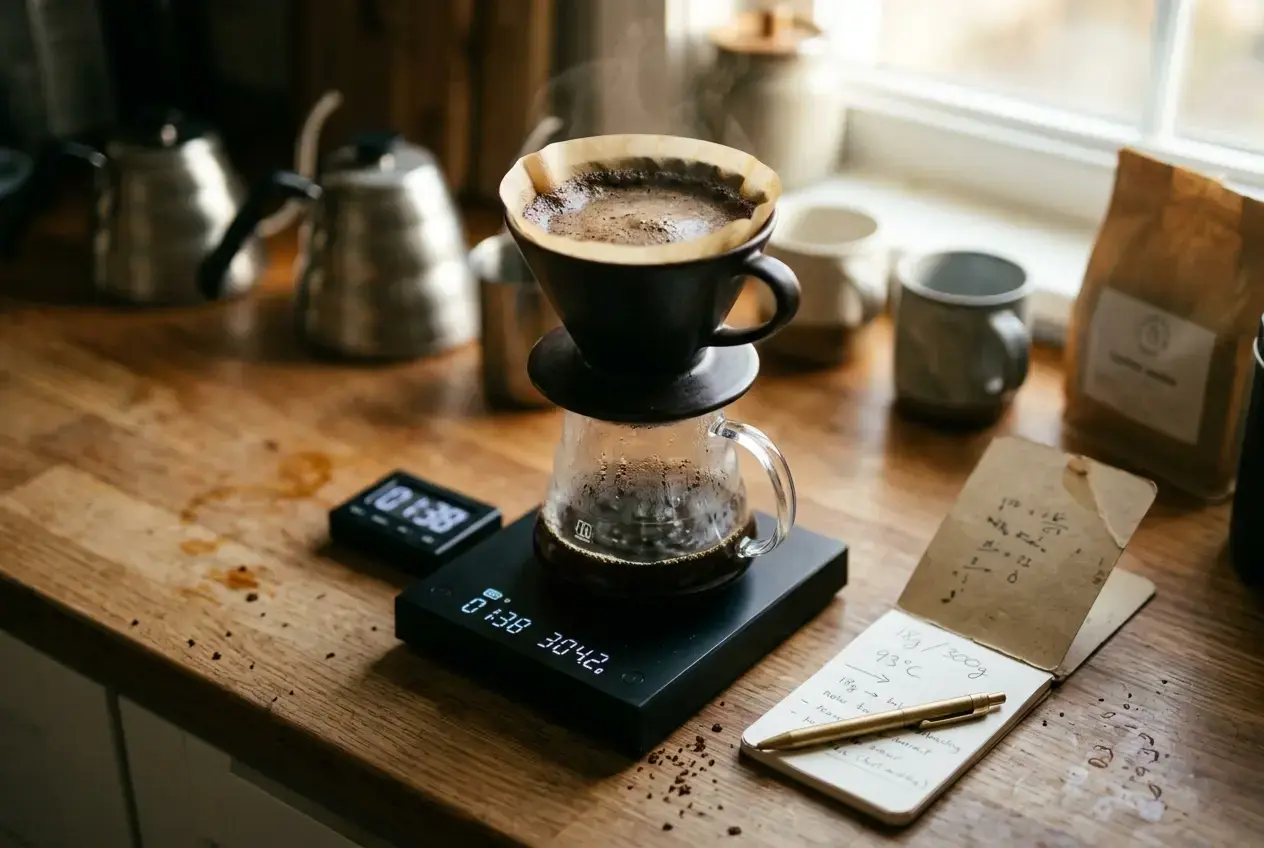
A common starting point is a 1:16 coffee-to-water ratio, a medium grind, water around 200°F, and a total brew time in the three-to-four-minute range depending on your brewer. If you want the full logic behind ratios before you lock one in, this breakdown of pour over ratios walks through how much coffee and water you actually need for different cup sizes.
Brew that baseline, taste it, and write down what you notice. Is it thin and sour, or thick and bitter, or actually pretty close? That first cup is your reference point. Every change you make from here gets judged against it, not against some ideal cup you’re imagining.
The One-Variable Rule: Why Changing Everything At Once Wastes Beans
This is the part most beginners skip, and it’s the part that saves the most beans. Change exactly one variable per test brew. Not grind and ratio together. Not temperature and time in the same cup. One variable, one test, one clear result.
Here’s why it matters. If you make a cup sour and weak, then on the next attempt you grind finer, drop the water temperature, and shorten the pour all at once, and the next cup tastes better, you genuinely don’t know which change fixed it. Was it the grind? The temperature? Did the shorter pour time cancel out a grind change that would have made things worse on its own? You’ll have a cup you liked but no way to reproduce it on purpose next time.
Changing one thing at a time means every test brew, even the failed ones, teaches you something you can actually use. That’s the entire difference between dialing in systematically and burning through beans hoping something sticks.
How To Brew Small Test Cups Instead Of Full Pots
You don’t need a full 300-gram brew to test a variable. Scale your baseline recipe down to a small test cup, something in the 10 to 15 gram coffee range with water scaled to match the same ratio. You’re tasting for direction, not brewing your actual morning coffee.
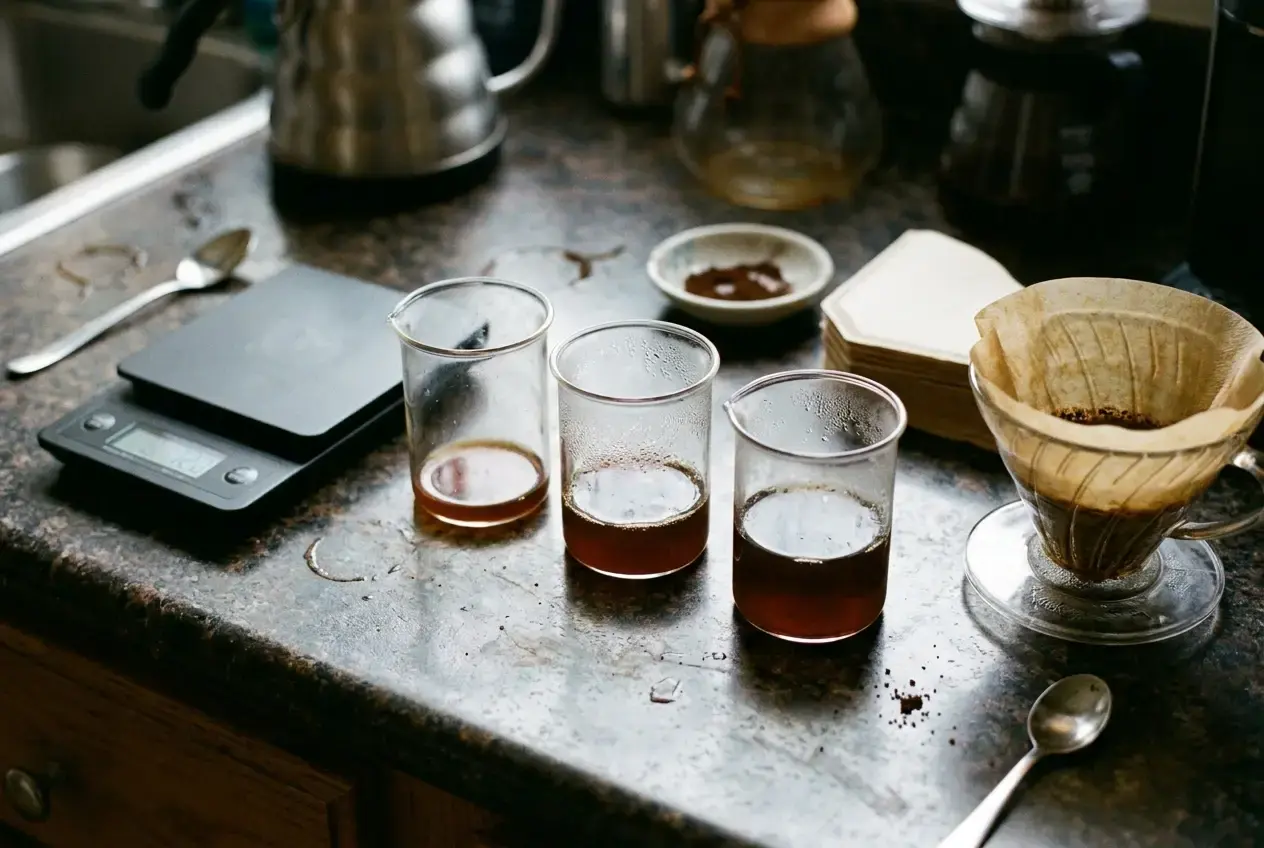
A few practical notes on small-batch testing:
- Use a scale for both coffee and water, even at this size. At small volumes, a gram or two off can skew the ratio more than it would in a full brew. If you don’t own a scale yet, here’s how to brew pour over without one, though a cheap scale makes this whole process faster.
- Keep your brewer and filter consistent across every test. If you’re bouncing between a V60 and a Kalita Wave, you’re not testing one variable anymore, you’re testing two brewers.
- Taste each test cup while it’s still warm enough to show its flaws. A cup that tastes fine lukewarm can hide sourness or bitterness that was obvious at serving temperature.
A small test cup still gives you a real read on sourness, bitterness, body, and sweetness. You’re not sacrificing accuracy by brewing smaller, you’re just not wasting the other two-thirds of the batch on a test you already expect to adjust.
The Dial-In Order: Grind First, Then Ratio, Then Time, Then Temperature
Order matters here, because some variables mask the effects of others. Working through them in sequence means you’re not chasing a problem that a later adjustment will fix on its own.
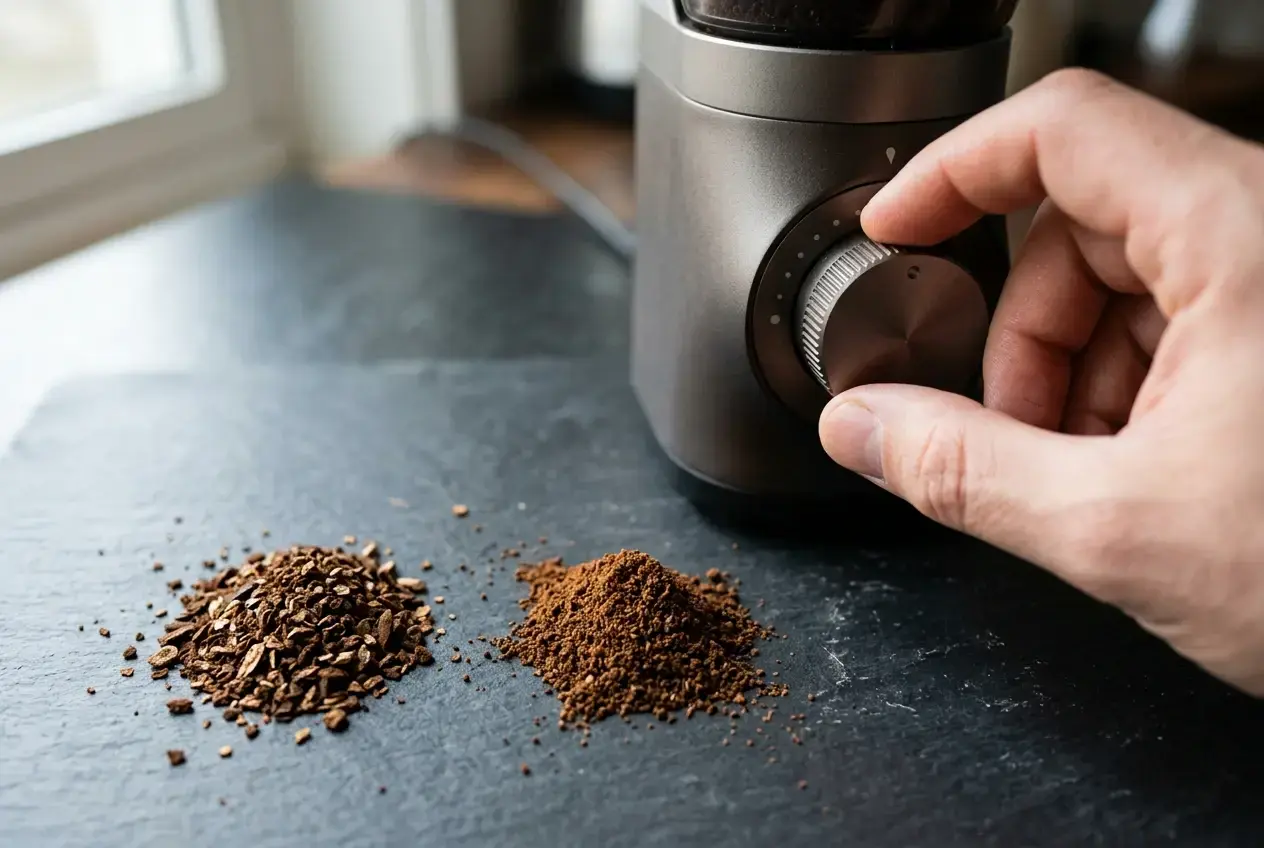
Grind first. Grind size affects extraction more than almost anything else you can control, and it’s usually the first thing to adjust if your cup tastes sour (too coarse, under-extracted) or bitter and harsh (too fine, over-extracted). If you’re not sure what you’re aiming for, this guide to pour over grind size gives you a clearer starting reference than “medium” ever will.
Then ratio. Once the grind is producing a cup that’s extracted in the right range, neither sour nor harsh, adjust the ratio to control strength. More coffee relative to water gives you a bolder cup, less gives you something lighter. This is where you fine-tune how strong the coffee tastes without touching extraction again.
Then time. Brew time is partly a result of grind size and pour technique, but once the first two are set, small adjustments to your pour speed or pulse timing can clean up the finish of the cup. If your brew time is running noticeably long or short for your brewer, it’s worth checking against a reference for ideal brew time before you assume the grind needs more work.
Temperature last. Water temperature has a real effect, but it’s smaller than grind, ratio, and time, and it’s the easiest variable to leave for last. A few degrees warmer brings out more sweetness and clarity with some beans, a few degrees cooler tones down bitterness with darker roasts. Save this adjustment for once the rest of the recipe already tastes close to right.
Working in this order means you’re never adjusting temperature to fix a problem that was actually a grind issue the whole time.
Reading The Cup So You Know What To Adjust Next
Every test cup is giving you information, but only if you know what to listen for. Sourness usually points to under-extraction, which means a finer grind, a longer brew time, or hotter water. Bitterness points the other way, toward over-extraction from too fine a grind, too long a brew, or water that’s too hot.
A thin, watery cup is often a ratio problem rather than an extraction problem, meaning there simply isn’t enough coffee relative to water. A muddy or flat cup can come from several different causes at once, and it’s worth reading through what causes muddy or flat pour over if that’s the flavor you keep landing on.
If you’re newer to identifying what you’re tasting in the first place, this guide to tasting coffee flavor notes breaks it down without turning it into a wine-tasting exercise. The goal isn’t to name eleven different fruit notes. It’s to notice sour, bitter, sweet, and balanced clearly enough to know which direction to move next.
Keeping A Simple Dial-In Log So You Never Repeat A Bad Batch
None of this works if you can’t remember what you changed between cup three and cup four. A dial-in log doesn’t need to be complicated. A notebook, a notes app, or a spreadsheet all work fine, as long as you record the same basics every time: beans, grind setting, ratio, water temperature, total brew time, and a one-line tasting note.
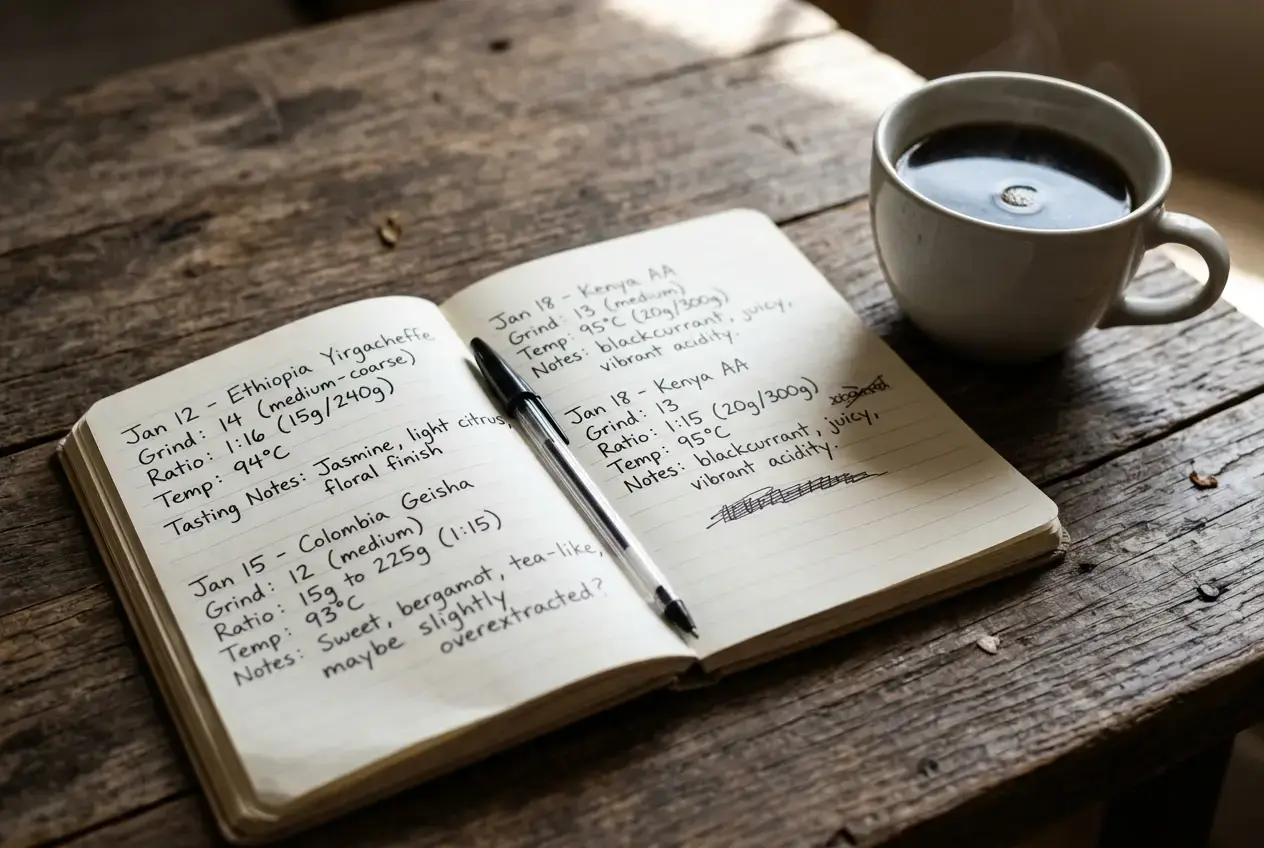
Over time this log becomes more valuable than any single dial-in session, because it shows you patterns across different beans. You might notice you consistently like a slightly coarser grind with lighter roasts, or that you always end up nudging the ratio stronger than your baseline. That’s a recipe shortcut for every new bag going forward, built from your own results instead of someone else’s.
Where To Go From Here
If grind size is the variable you keep coming back to, no matter what beans you’re brewing, it might not be your technique. It might be your grinder’s consistency. Once your grind size is the variable you keep landing back on, it’s worth checking whether your current grinder can actually hit it consistently. Our breakdown of the best grinders for pour over can help you decide if an upgrade would save you even more beans.