
The Kalita Wave is a pour over coffee maker with a reputation for being easy on beginners. Its flat bottom and three small drainage holes slow the water down and even out extraction, so you can brew a good cup without precise pouring technique. This guide covers the gear, a repeatable recipe, step-by-step instructions, and what to change when the cup tastes off.
What Is A Kalita Wave And Why Is It Great For Beginners?
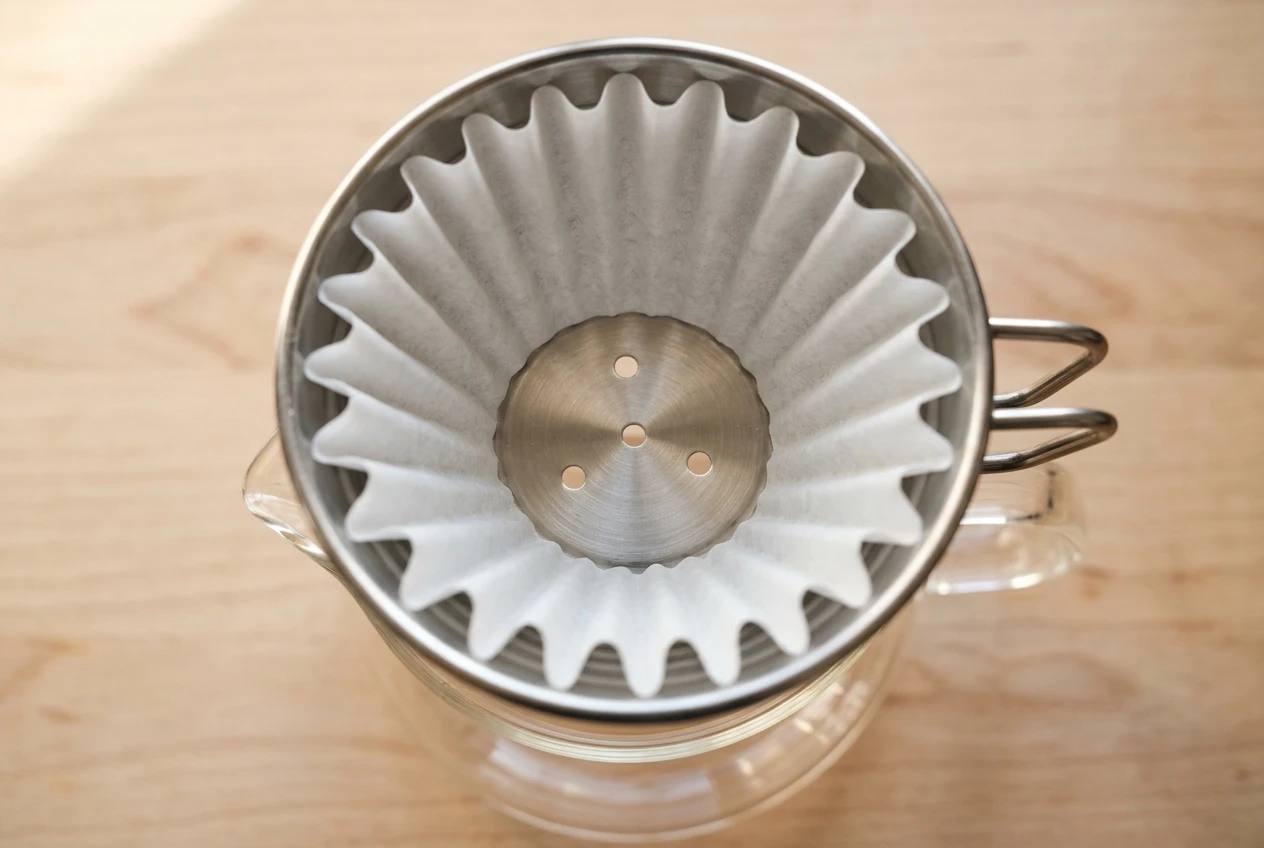
The Kalita Wave is a pour over dripper with a flat bottom and wave-shaped paper filters. Most cone drippers, like the Hario V60, have one large drainage hole. The Wave has three small ones, which limits how fast water leaves the coffee bed.
The grounds also sit in a wider, flatter layer, so water moves through them at a steadier pace. That makes uneven extraction, the cause of sour and bitter patches in a cup, less likely. You can pour a little unevenly or miss your grind by a notch and still end up with something drinkable.
It suits you well if you:
-
Have had inconsistent results with other pour over brewers
-
Brew one or two cups at a time
-
Want a short cleanup with minimal gear
-
Would rather not practice a precise pouring technique
If you are still deciding between brewers, the Hario V60 vs Kalita Wave comparison goes through the differences in detail.
What You Need To Brew Coffee With A Kalita Wave
Here is a basic setup:
-
Kalita Wave dripper: the 155 size suits small cups, and the 185 suits larger mugs
-
Kalita Wave filters: sized to match your dripper
-
Gooseneck kettle: it gives you control over where and how fast the water goes, though a regular spout works when you are starting out
-
Digital scale: weigh both beans and water so the recipe is repeatable, and use its timer if it has one
-
Burr grinder: a decent hand grinder is a fine place to start
-
Fresh whole bean coffee
For a fuller shopping list, see the guide to building a pour over coffee kit.
Why Kalita Wave filters matter
The wave-shaped sides keep the paper from sticking to the dripper walls. That lets air move underneath and keeps the coffee bed level. Filters shaped for other drippers, such as Melitta or V60 papers, do not fit the same way, so use filters made for the Wave.
Choosing beans
Medium roasted single-origin coffees and balanced blends are forgiving choices for early brews. Check the roasted-on date on the bag and buy from a roaster that prints one. If you want to adjust your recipe for lighter or darker roasts later, brewing pour over by roast level explains how.
A Simple Kalita Wave Recipe For Beginners
Start with these numbers for one mug:
-
Ratio: 1:16, meaning 1 gram of coffee to 16 grams of water. For 300g of water, use about 18g of coffee.
-
Grind: medium, somewhere between table salt and beach sand. If you are buying pre-ground, look for “drip” or “pour over” grind. The best grind size for pour over covers it in more depth.
-
Water: just off the boil, about 200°F to 205°F (93°C to 96°C). Let boiled water sit for 20 to 30 seconds.
-
Total time: 2:45 to 3:30.
If the brew finishes much faster or slower than that window, change the grind first. Change one variable at a time so you can tell what made the difference.
How To Use A Kalita Wave Step By Step
Step 1: Rinse the filter
Place the filter in the dripper and pour hot water all the way around it. This warms the brewer and washes out paper taste. Discard the rinse water from your mug or carafe.
Step 2: Add the coffee and level the bed
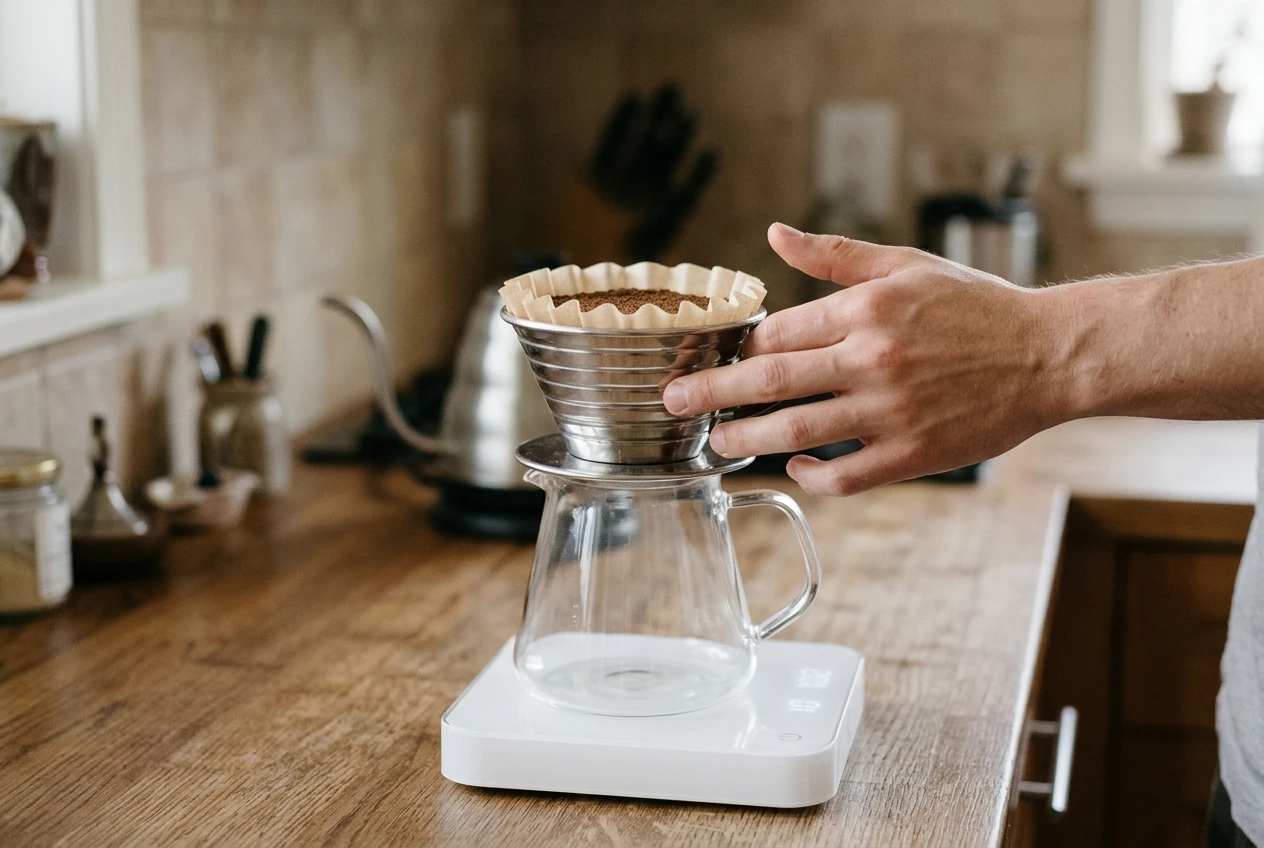
Pour 18g of medium ground coffee into the wet filter. Give the dripper a gentle shake or tap to flatten the top. A level bed keeps water from rushing through one spot.
Step 3: Bloom
Start your timer and pour about twice the coffee’s weight in water, so 36g to 40g for 18g of coffee. Make sure all the grounds are wet. The coffee releases gas and puffs up, and you should wait 30 to 45 seconds.
Step 4: Pour slowly
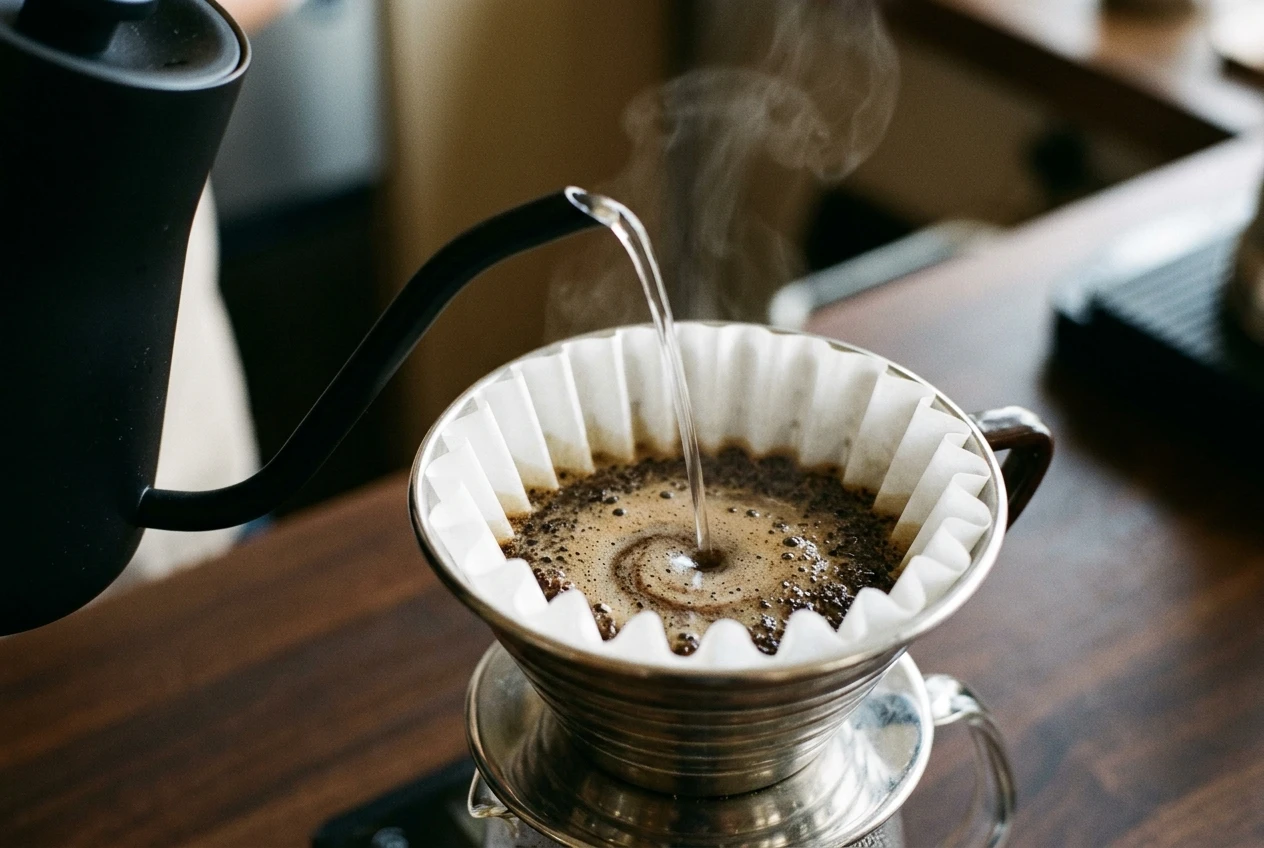
Pour in slow circles or spirals, topping up every 10 to 20 seconds until you reach 300g. Try to keep the water off the filter walls and keep the coffee bed covered. Aim to finish pouring around the 2 minute mark. If you want a more structured method, try pulse pouring.
Step 5: Let it draw down
Wait for the dripper to empty, which takes about 30 to 60 seconds after the last pour. Remove the dripper and throw out the grounds and filter. Rinse the dripper and it is ready for the next brew.
Common Kalita Wave Mistakes And How To Avoid Them
-
Wrong grind size. A harsh or slow brew, or a clogged dripper, points to a grind that is too fine. Watery or sour coffee points to a grind that is too coarse. Move one notch at a time until the brew lands near 3 minutes.
-
Pouring too hard. Big, splashing pours stir up the grounds and disturb extraction. A gooseneck kettle makes slow, controlled pours much easier.
-
An uneven bed. A bed that is higher on one side creates channels where water runs through too fast. Level the grounds before you pour.
-
Guessing the ratio. Too much coffee makes the cup overpowering, and too little makes it thin. Weigh both and start at 1:16.
-
Changing everything at once. If you change the grind, the pour, and the ratio together, you cannot tell which one helped. Change one thing per brew and write it down.
How To Adjust Your Kalita Wave Brew Based On Taste
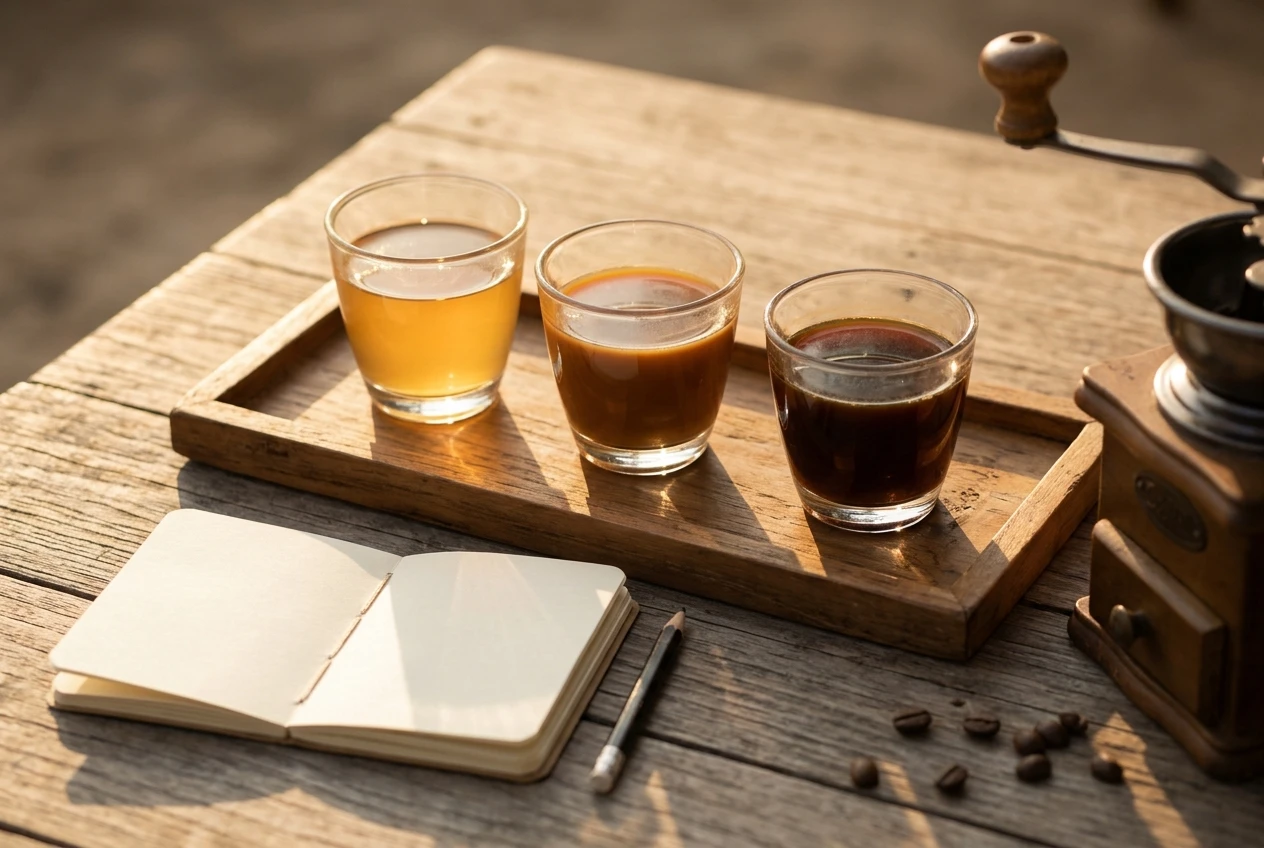
Sour or sharp usually means under-extraction. Grind a little finer, extend the brew slightly, and check that your water is close to 200°F.
Bitter, dry, or harsh usually means over-extraction. Grind coarser, pour a bit faster, or shorten the brew, especially if it is running past 3:30.
Weak or watery usually means too little coffee or a grind that is too coarse. Add a gram or two of coffee, tighten the grind, and confirm you are hitting your water weight.
For a more thorough diagnosis, the Pour Over Troubleshooter walks through each symptom. Once the basics are steady, fresh beans, accurate weights, and a consistent pour do most of the work toward a sweeter, more balanced cup.
Tips For Brewing Better Coffee With A Kalita Wave
-
Grind right before brewing. Ground coffee loses flavor faster than whole beans, and storing beans properly keeps them tasting better for longer.
-
Use clean, filtered water. If your tap water tastes off on its own, it will affect the coffee.
-
Keep a brew log. Note the coffee weight, water weight, grind setting, and how the cup tasted. When one comes out well, you can repeat it.
Kalita Wave FAQ
Is the Kalita Wave better for beginners than a V60?
For most beginners it is easier. The Wave tolerates uneven pouring better because of its flat bed and three small holes. The V60 asks for more control over pour speed and grind.
What grind size is best for a Kalita Wave?
Medium. If the coffee brews too fast or tastes thin, go slightly finer. If it stalls or tastes bitter, go slightly coarser.
How much coffee should I use?
Start with 18g of coffee for 300g of water on a Wave 185, then adjust to taste.
How long should a Kalita Wave brew take?
Between 2:45 and 3:30 for a single mug. If your time is far outside that, check the grind, ratio, and pouring speed.
Final Thoughts On Learning How To Use A Kalita Wave
Keep your first brews simple: weigh your coffee and water, level the bed, and pour slowly. Change one variable at a time and keep notes. With the Kalita Wave doing much of the work of keeping the flow even, you can spend your attention on learning what you like in the cup.