
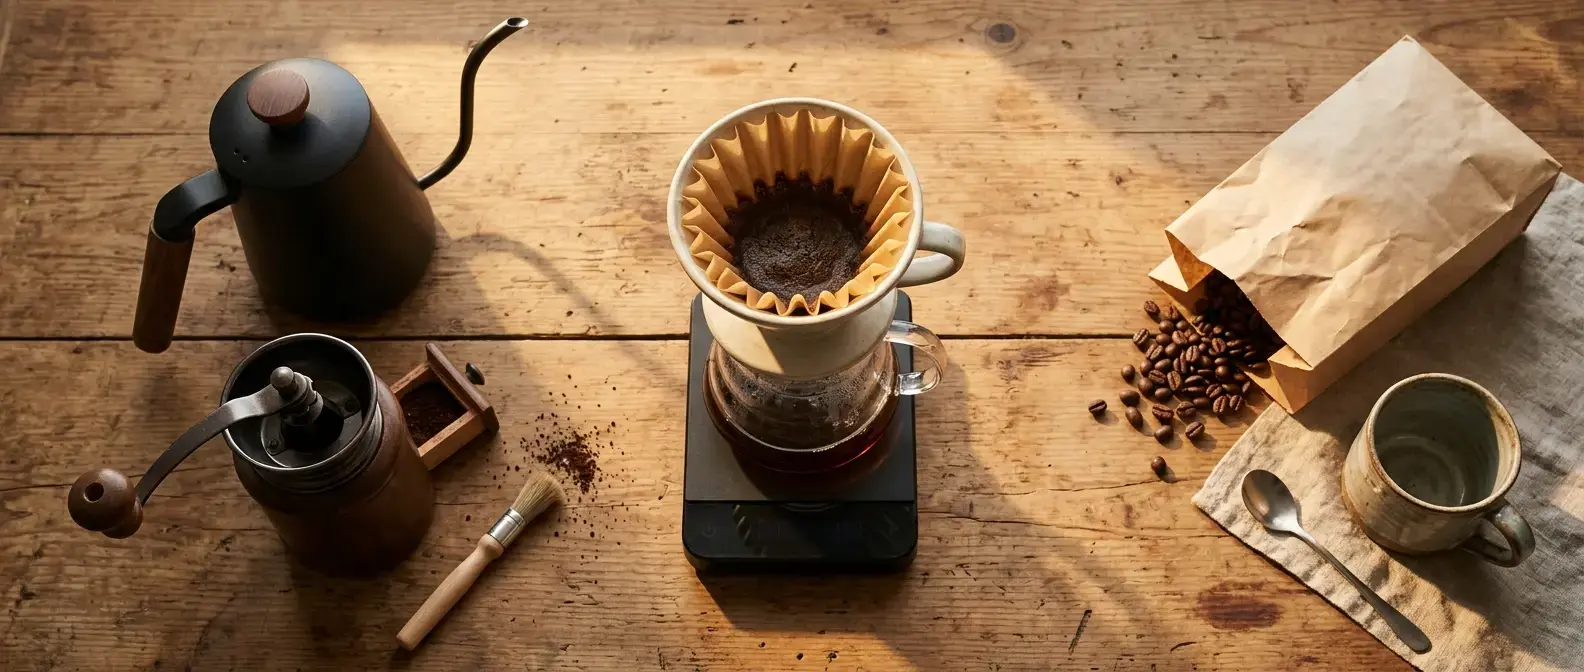
Walk into any coffee shop or scroll any gear forum and you’ll find people arguing about $400 grinders and hand-forged kettles. That’s not where you need to start, and for most people, it’s not where you need to end up either. What you actually need is a clear sense of what a pour over kit requires at each stage, so you can spend money on the right things in the right order instead of guessing.
This is a buying roadmap, built in three tiers: a starter kit around $50, an upgrade kit around $150, and a full enthusiast setup for people who want to chase consistency for its own sake. Each tier names what belongs in it and why, so you can land in whichever one fits your budget and your level of interest right now.
What Actually Goes Into A Pour Over Kit (And What You Can Skip For Now)
A pour over kit has four core pieces: a brewer (the dripper that holds your filter and coffee), a kettle you can control the flow from, a grinder, and a scale. Everything past that is an extra, not a requirement.
The brewer and grinder matter most, because they affect the coffee in your cup directly. The brewer shapes how water moves through the grounds, and the grinder determines how evenly your coffee extracts. A bad grind, even from an expensive brewer, gives you a worse cup than a good grind from a cheap one. If you only read one more piece before buying anything, make it the best grind size for pour over coffee, because it explains why this single variable causes more bad cups than people realize.
The kettle and scale are support gear. A gooseneck kettle gives you control over your pour, which matters once you’re trying to brew consistently, but a regular kettle with a narrow spout will get you a drinkable cup while you’re starting out. A scale removes guesswork from your ratio, but it’s not the only way to get there.
What you can skip entirely at first: specialty filters beyond what comes with your brewer, a separate coffee grinder for espresso, a gram-precise jewelry scale, and any kind of water treatment system. Those are enthusiast-tier additions, not starting requirements.
The $50 Starter Kit: Your First Real Pour Over Setup
At $50, you’re buying exactly four things: a brewer, a pack of filters, a basic kettle, and a bag of coffee. You’re not buying a scale yet, and you’re not buying a gooseneck kettle yet either, though both are worth adding soon.
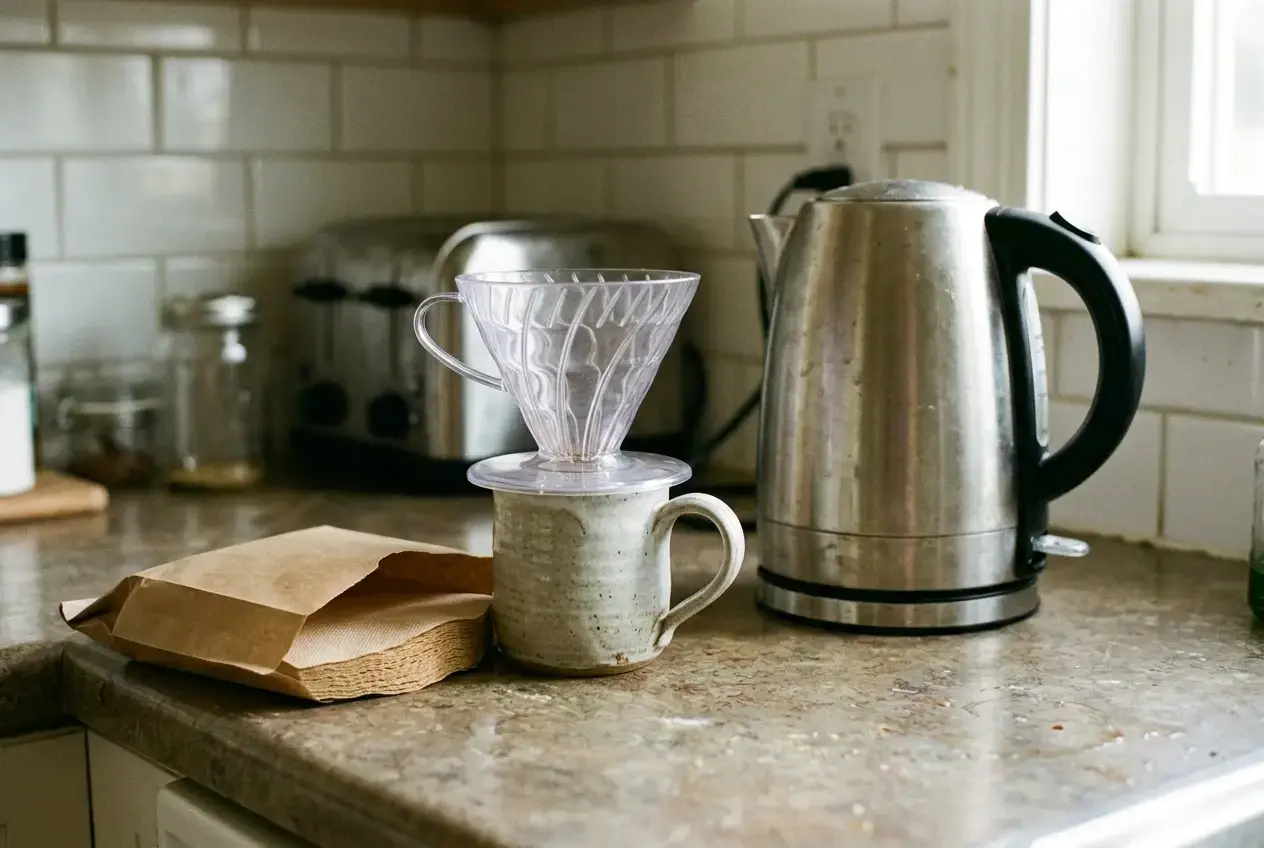
A Hario V60 or a Kalita Wave are the two most common starting brewers, and either is a fine choice. The V60’s cone shape rewards a steady, attentive pour, while the Kalita Wave’s flat bed and triple-hole design is more forgiving if your pour is a little uneven. If you want the gentler learning curve, how to use a Kalita Wave walks through a method built for exactly that.
For a kettle, you don’t need gooseneck precision on day one. Any kettle with a spout narrow enough to control your flow rate will work, and you can heat water in it and pour by feel while you’re learning the basics. The upgrade to a gooseneck comes next, not now.
Skip the scale at this stage if your budget is genuinely at $50 and something has to give. You can brew a solid cup using volume estimates and taste adjustments instead of exact grams, and this guide to pour over without a scale shows you how to get your ratio close enough without one. If your budget has a little more room, a $10 to $15 kitchen scale is worth adding here instead of waiting for the next tier, because it removes one entire category of guesswork.
Round out the kit with pre-ground coffee or a cheap starter grinder if one is within reach, filters sized for your brewer, and that’s the whole list. This setup will make a genuinely good cup. It won’t be your final setup, but it’s a real one, not a compromise.
The $150 Upgrade Kit: Where To Spend Once You’re Hooked
Once you know pour over is something you’re going to keep doing, $150 gets you a meaningfully better setup, and it’s worth being deliberate about where that money goes.
The first upgrade is a gooseneck kettle. This is the single piece of gear that changes your results the most after the grinder, because it gives you direct control over pour speed and placement, which affects how evenly your coffee extracts. A $30 to $50 gooseneck kettle, electric or stovetop, is a real step up from whatever you started with.
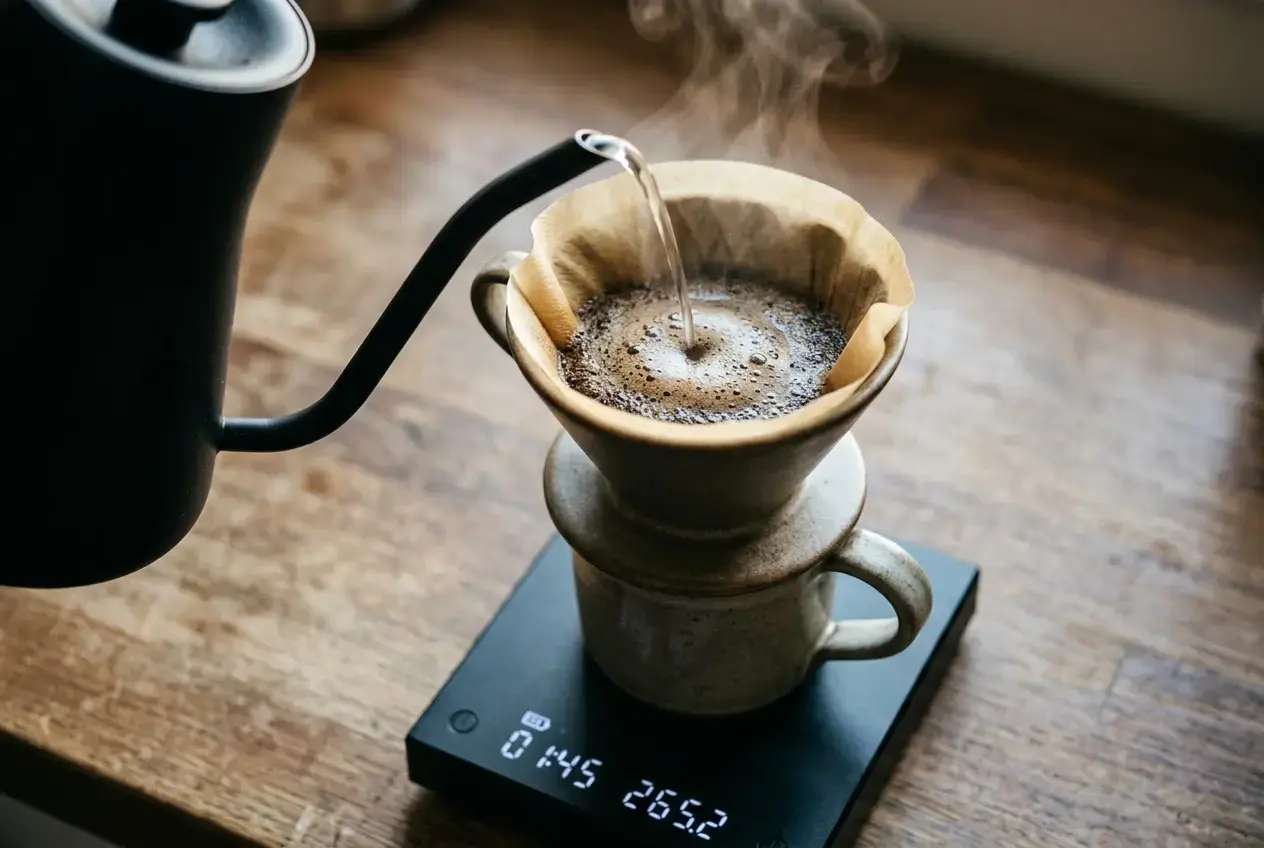
The second upgrade is a hand grinder with adjustable settings, if you were using pre-ground coffee or a basic blade grinder before. Pre-ground coffee goes stale fast and grinds unevenly by nature, so this is where freshness and consistency both improve at once.
Add a scale if you didn’t get one in the starter kit. At this tier, there’s no good reason to skip it. A $15 to $25 digital scale with a timer function lets you track your ratio and your brew time in the same glance, which makes it much easier to repeat a cup you liked or adjust one you didn’t.
With the remaining budget, consider a proper storage container for your beans. Coffee loses aroma fast once the bag is opened, and an airtight canister with one-way venting keeps beans fresher for longer than the bag they came in. How to store coffee beans for better flavor and freshness covers what actually protects your coffee and what doesn’t matter as much as people think.
This tier is where pour over stops feeling like a one-off experiment and starts feeling like a routine you’re building on purpose.
The Enthusiast Kit: Chasing Consistency Over Convenience
The enthusiast tier isn’t really about adding more gear. It’s about swapping convenience for precision at every point where the difference actually shows up in the cup.
The biggest jump here is the grinder. An electric burr grinder with narrow, consistent grind adjustments removes variability that a hand grinder, even a good one, still carries from grind to grind. If you’re brewing daily and care about repeating a dialed-in recipe, this is where the upgrade pays off most directly.
A precision gooseneck kettle, often with temperature control built in, is the next piece. Being able to set and hold your water at a specific temperature removes one more variable from the equation, which matters once you’re troubleshooting flavor instead of just getting a drinkable cup.
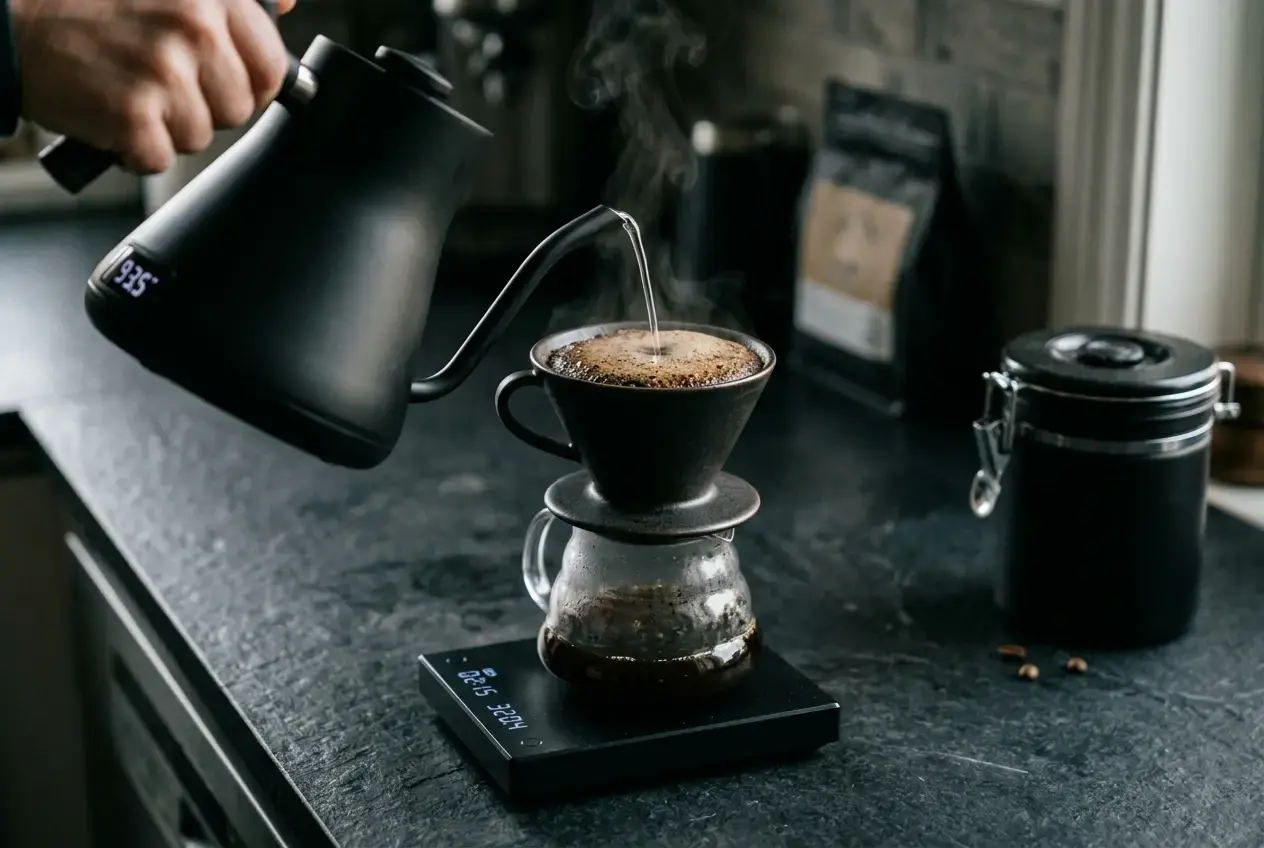
A 0.1 gram precision scale, rather than a basic kitchen scale, lets you dial in ratios tightly enough to notice small changes. At this level, you’re not just weighing coffee and water, you’re using the scale to repeat a pour pattern consistently, which ties directly into technique. Pulse pouring is one of the techniques enthusiasts lean on most, because breaking your pour into stages gives you more control over extraction than one continuous pour.
Water quality becomes worth addressing at this tier too, whether through filtered water or a mineral additive built for brewing. Tap water with the wrong mineral balance can flatten or mute flavors no matter how good everything else in your kit is.
None of this is about owning more stuff. It’s about removing variables one at a time until the cup in front of you is the cup you intended to make, consistently, not just occasionally.
Choosing Your Brewer, Kettle, And Grinder Without Overthinking It
With three tiers laid out, the natural next question is which specific brewer, kettle, and grinder to actually buy. That’s a real decision, and it deserves more detail than a buying roadmap can give it.
The brewer choice usually comes down to V60 versus Kalita Wave versus Chemex. Each has a different flow design and a different margin for error, and the right one depends on how much you want to tinker versus how much you want a forgiving, repeatable process. This is a choice worth making deliberately rather than picking whatever’s cheapest on the shelf, because your brewer shapes your technique more than almost anything else in the kit.
The kettle choice matters most once you’re past the $50 tier, since a gooseneck’s spout shape, pour control, and whether it has built-in temperature control all affect how much precision you’re actually getting for your money.
The grinder choice is where budget stretches the furthest in either direction, from a $30 hand grinder to a $200 electric burr grinder, and the gap in grind consistency between the low end and the high end of that range is bigger than most other upgrades in this list.
Rather than cover all three in detail here, the specific product picks live in their own guides, which is where you’ll want to go next once you know which tier you’re buying into.
The Small Extras That Make A Bigger Difference Than You’d Think
A few inexpensive additions don’t show up in most starter conversations, but they solve real problems once you’re brewing regularly.
A small digital thermometer, if your kettle doesn’t have temperature control built in, tells you whether your water is actually in the right range instead of guessing based on how long it’s been off the boil. Water that’s too hot or too cool changes extraction in ways that are easy to mistake for a grind or ratio problem.
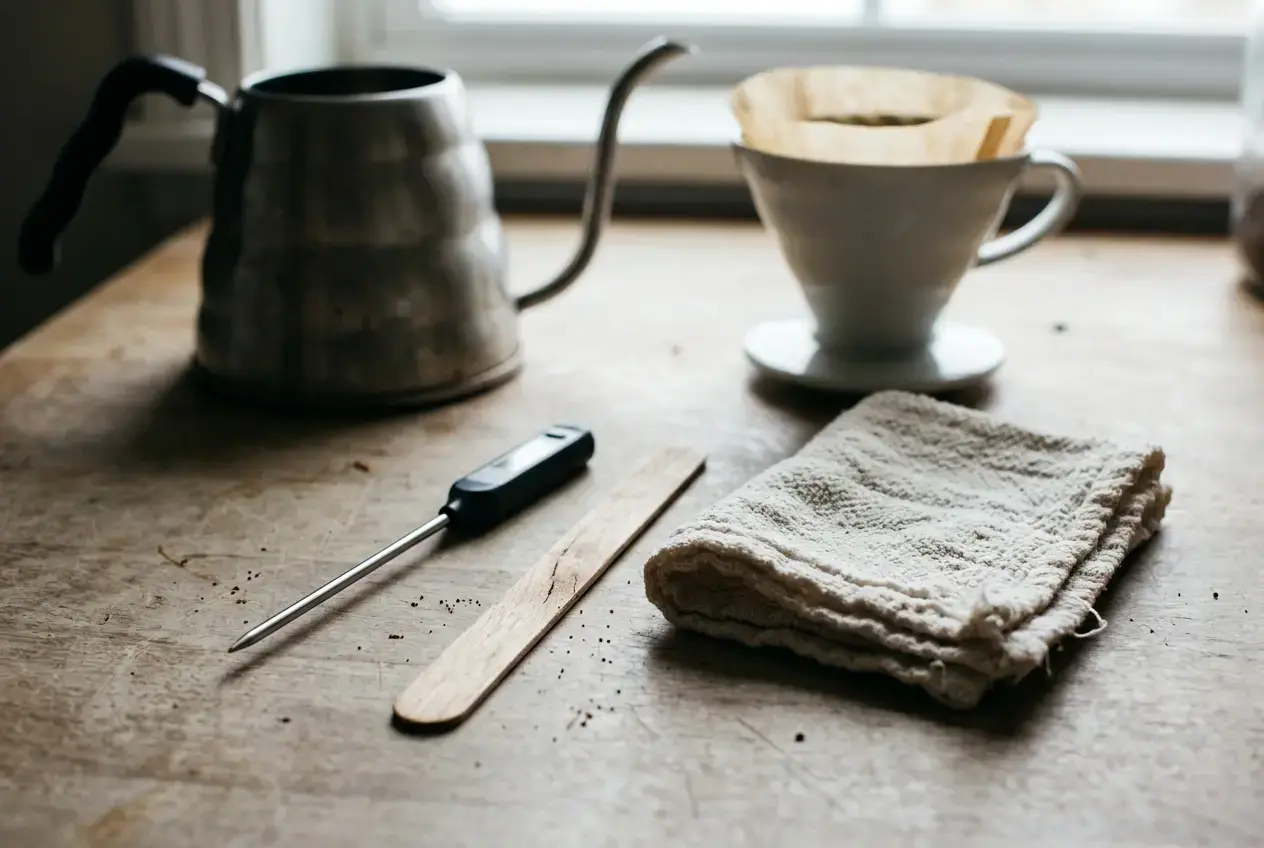
A simple stirrer or spoon dedicated to your brewer helps during the bloom stage, when breaking up dry pockets of grounds evenly matters more than people expect. How to bloom pour over coffee covers why this early step affects the whole brew, not just the first thirty seconds.
A paper towel or small cloth kept next to your station sounds trivial, but rinsing your filter before brewing, which most people skip, removes papery taste from the cup and warms your brewer, and you’ll want something to catch the rinse water.
Filtered or bottled water, even without a full water treatment setup, is worth it if your tap water tastes off on its own. Best water for pour over coffee explains which mineral differences actually affect flavor and which ones are mostly marketing.
None of these extras cost much, but each one removes a small source of inconsistency, and inconsistency is usually the real reason a cup tastes different two days in a row with the same beans.
Building Your Kit One Piece At A Time Without Overspending
The order matters more than the total you spend. Buy the brewer and grinder first, because they affect the cup the most. Add the gooseneck kettle and scale next, because they add control. Save the precision upgrades, the better grinder, the temperature-controlled kettle, the fine scale, for once you know you’re going to keep brewing this way long enough to benefit from them.
There’s no reason to buy the enthusiast kit on day one, and there’s no reason to stay stuck at the starter tier once you know pour over is something you’re sticking with. Let your own interest set the pace, and spend on what you’ll actually use next.
Ready to pick exact products? Go straight to the guides. For kettles: the best gooseneck kettles for precision pour over brewing. For grinders: the best grinder for pour over coffee. For brewers: Hario V60 vs Kalita Wave or V60 vs Chemex, whichever style fits you. Buying through any of those links? Here’s the affiliate disclosure.