
If you’re standing in front of a screen of pour over brewers, trying to pick one, this is the conversation I’d want to have with you over a cup of coffee. Three options come up again and over: the Hario V60, the Chemex, and the Kalita Wave. Each one suits a different kind of person, and all three make very good coffee.
The differences come down to a few practical things: how much control you want, how much patience you have in the morning, and what you like in the cup. Bright and fruity, clean and crisp, or smooth and balanced all point to different brewers.
Below you’ll find the best pour over coffee methods side by side, the seven steps that apply to all of them, and a checklist at the end to help you decide.
The Top 3 Pour Over Methods
Pour over brewing means pouring hot water over ground coffee in a filter and letting it drip into a cup or carafe. You control the pour, so you control the flavor. The three most popular ways to do it are:
-
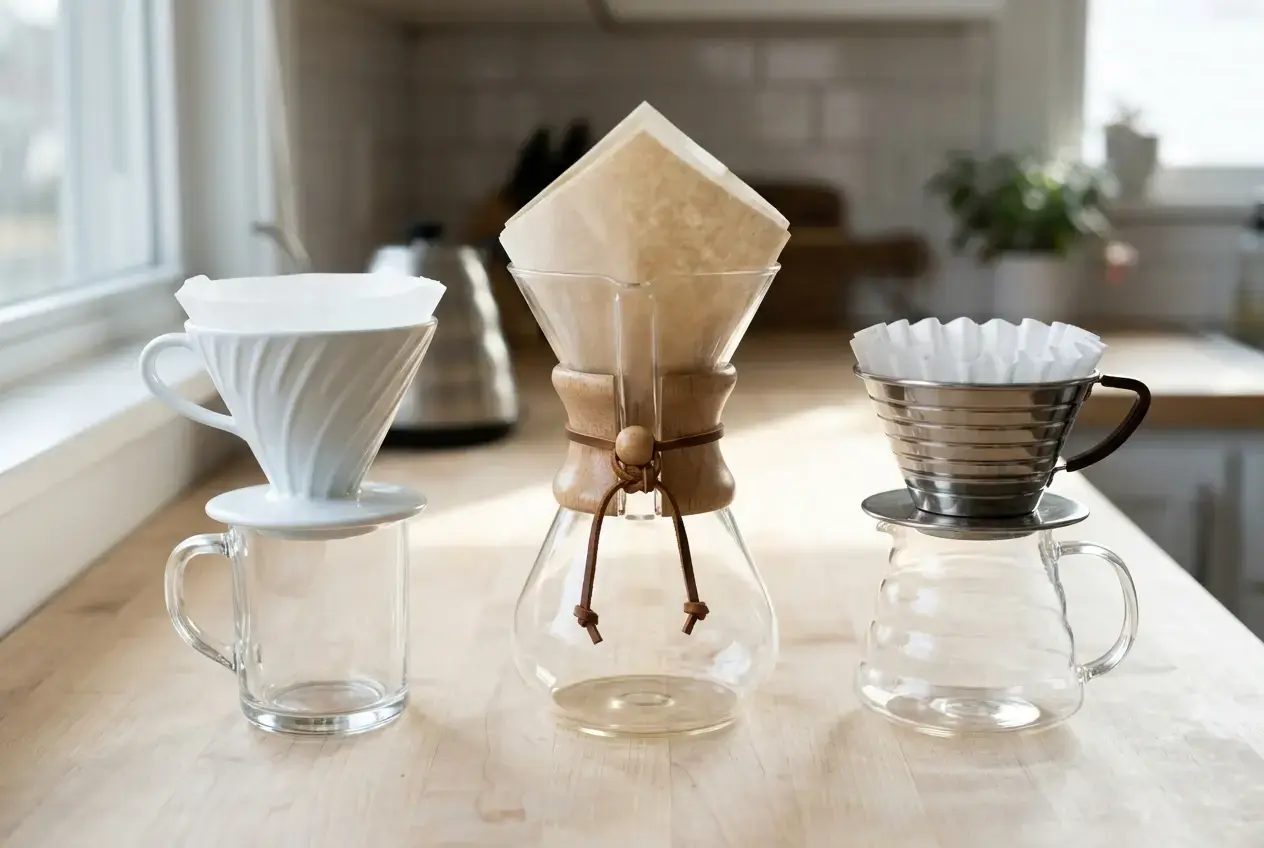
Hario V60: a cone-shaped dripper with one large hole in the bottom and spiral ribs inside. The “60” refers to the 60-degree angle of the cone.
-
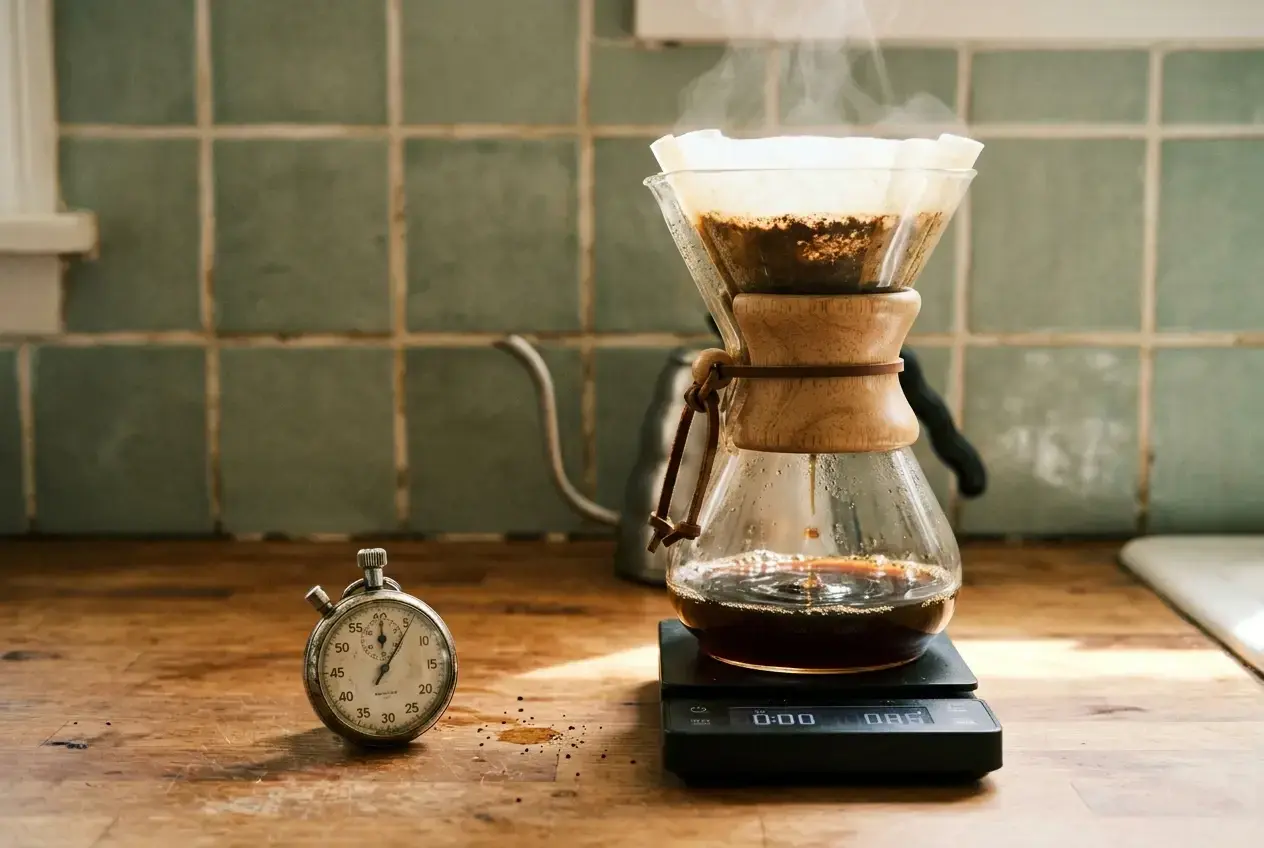
Chemex: an hourglass-shaped glass brewer with a wooden collar, used with its own thick paper filters.
-
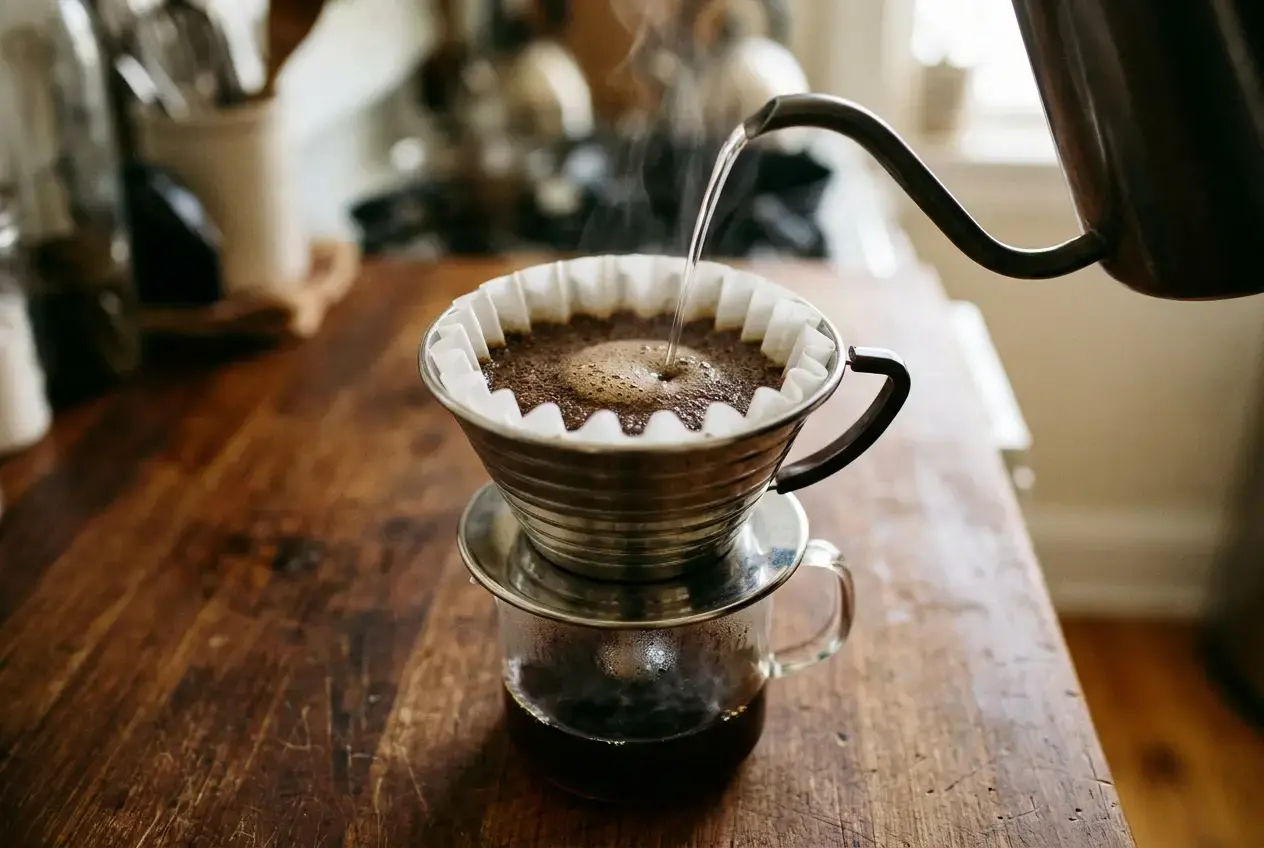
Kalita Wave: a flat-bottomed dripper with three small drain holes, used with pleated “wave” filters.
Other pour over brewers exist, but these three cover most of what beginners and enthusiasts end up choosing between. They also show the main design differences: a cone with a single big hole, a thick filter in a glass carafe, and a flat bed with small holes.
If you’re also putting together the rest of your setup, the guide on how to build a pour over coffee kit covers the other pieces you’ll want next to whichever brewer you choose.
Why Each Step Matters (The 7 Steps Behind Every Cup)
Whichever brewer you pick, the method is nearly the same. These seven steps apply to the V60, Chemex, and Kalita Wave alike, and each one is there for a reason.
1. Choose your brewer and filter. The brewer’s shape and the filter’s thickness decide how fast water moves through the coffee. That is why the same beans taste different from each brewer, and why the rest of this article compares them.
2. Measure and grind your coffee. Weighing the coffee gives you a repeatable starting point. Grind size controls how quickly flavor comes out of the coffee, so it is the adjustment you will make most often. A common starting ratio is 1:16, which means 20g of coffee to 320g of water.
3. Heat your water. Aim for about 195 to 205°F (90 to 96°C). Water that is too cool leaves the coffee sour and thin. Water that is too hot can push it toward bitter.
4. Rinse your filter. Pouring hot water through the paper removes the papery taste it can add to the cup. It also warms the brewer, so the brew temperature does not drop as soon as you start pouring. Discard the rinse water before adding coffee.
5. Bloom the coffee. Pour a small amount of water, around twice the weight of your coffee (about 40g for 20g), and wait 30 to 45 seconds. Fresh coffee releases gas when it first meets hot water, and the bloom lets that gas escape so the water can wet the grounds evenly afterward.
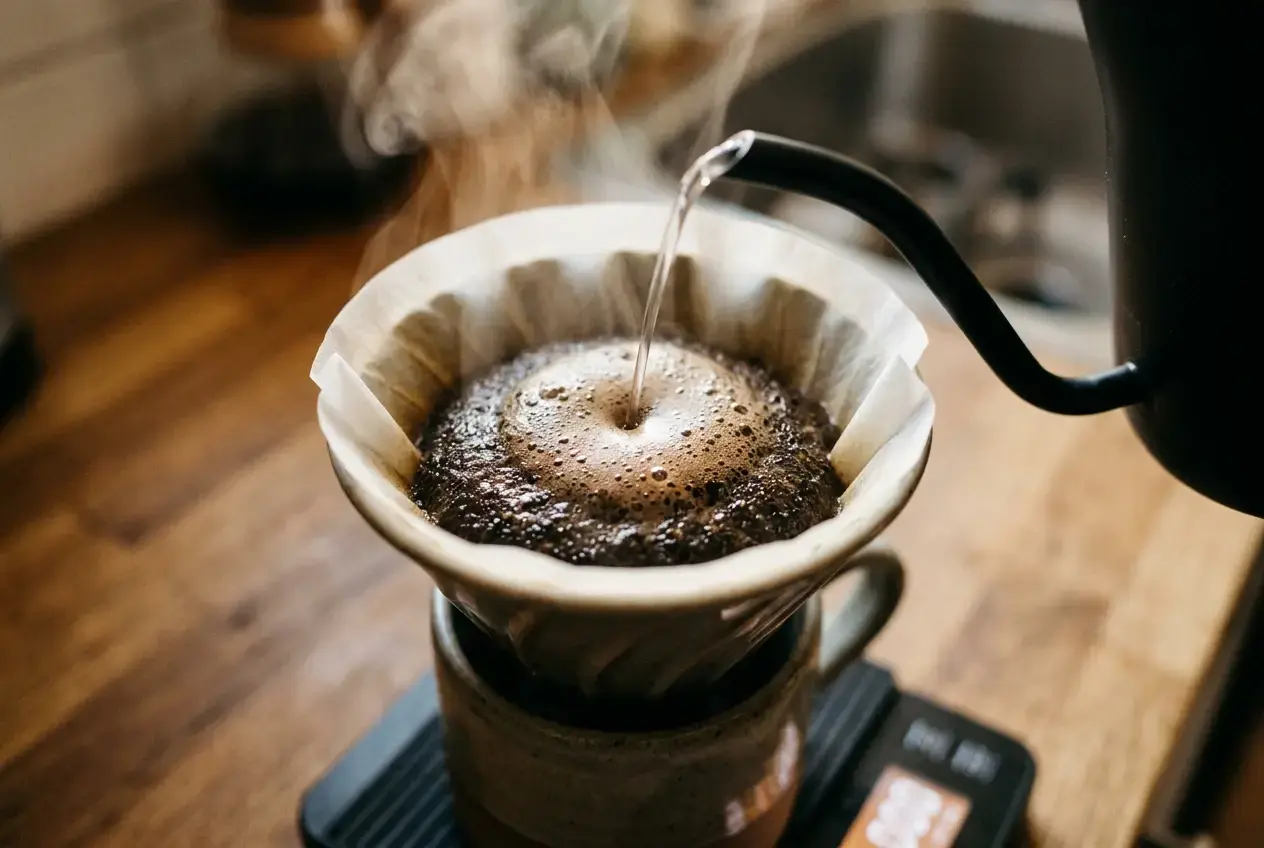
6. Pour slowly and evenly. Steady pours keep the coffee bed level and the water in contact with the grounds for a consistent time. A gooseneck kettle makes this much easier, and the guide to the best gooseneck kettles for precision pour over brewing will help you choose one. If you want to try splitting the pour into stages, see how the pulse pour technique works.
7. Let it finish, then taste. Once the water has drained, taste the coffee before changing anything. The total brew time and the flavor tell you what to adjust next time: a little finer if it’s sour, a little coarser if it’s bitter.
How the V60, Chemex, and Kalita Wave Compare
This table shows the main differences. The grind and time figures are common starting points, not fixed rules, so expect to adjust them for your beans.
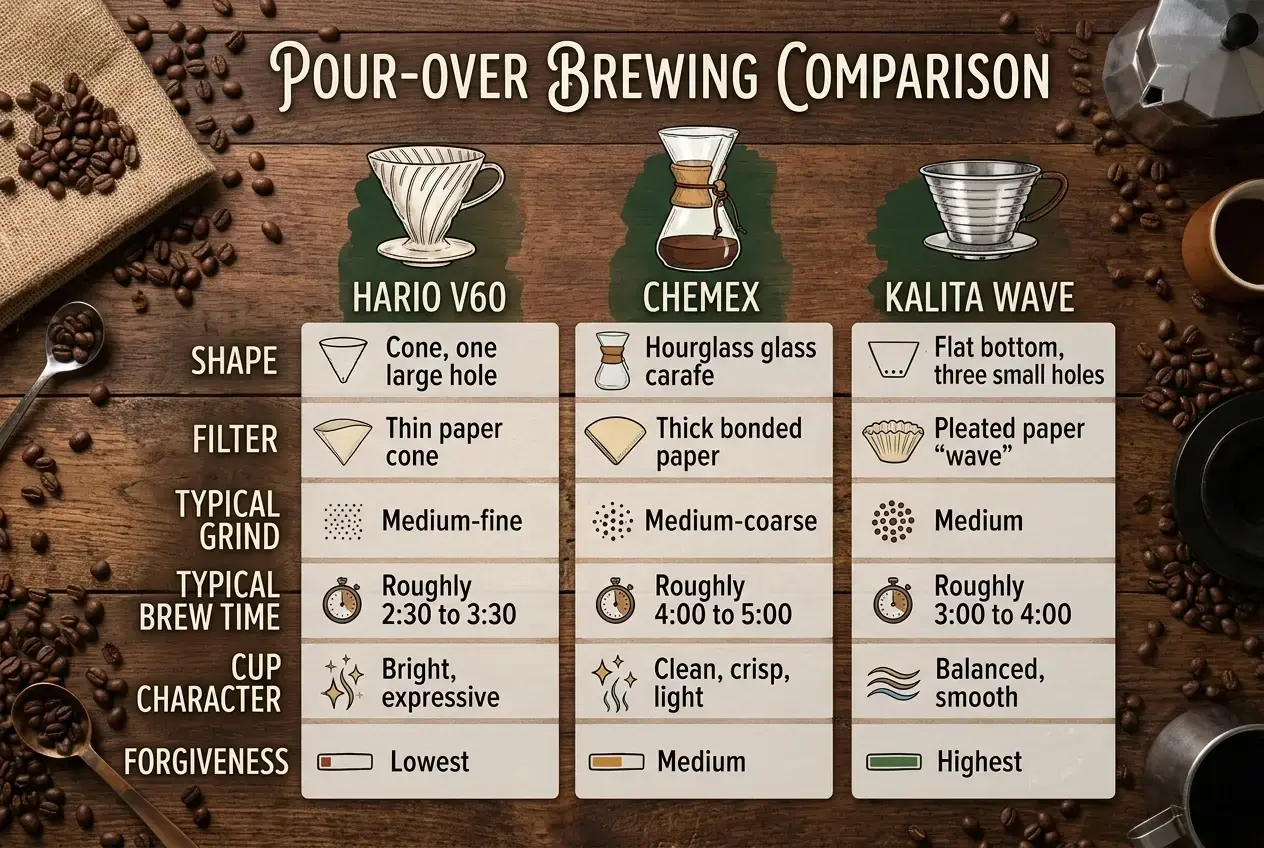
In short, the V60 gives you the most control, the Chemex gives you the cleanest cup, and the Kalita Wave is the easiest to get right. If you’d like a deeper look at two of them, I’ve compared V60 vs Chemex in detail.
Who a V60 Is For
The V60 is for people who enjoy adjusting things. Its large single hole means water drains quickly, so your pour speed, grind size, and pouring pattern all show up in the cup. That makes it very responsive. A small change in grind can noticeably change the flavor, which is useful if you like to experiment and frustrating if you just want the same cup every morning.
Choose the V60 if:
-
You like bright, expressive coffee with clear fruit or floral notes.
-
You enjoy a bit of ritual and are happy to learn from a few imperfect cups.
-
You already own, or plan to buy, a gooseneck kettle and a scale.
-
You like the idea of changing one variable at a time to see what it does.
The V60 is less forgiving of uneven pouring. If you rush or pour wildly, the coffee can come out thin, sour, or uneven. That is not a flaw in the brewer. It is the same sensitivity that lets you fine-tune the cup.
Who a Chemex Is For
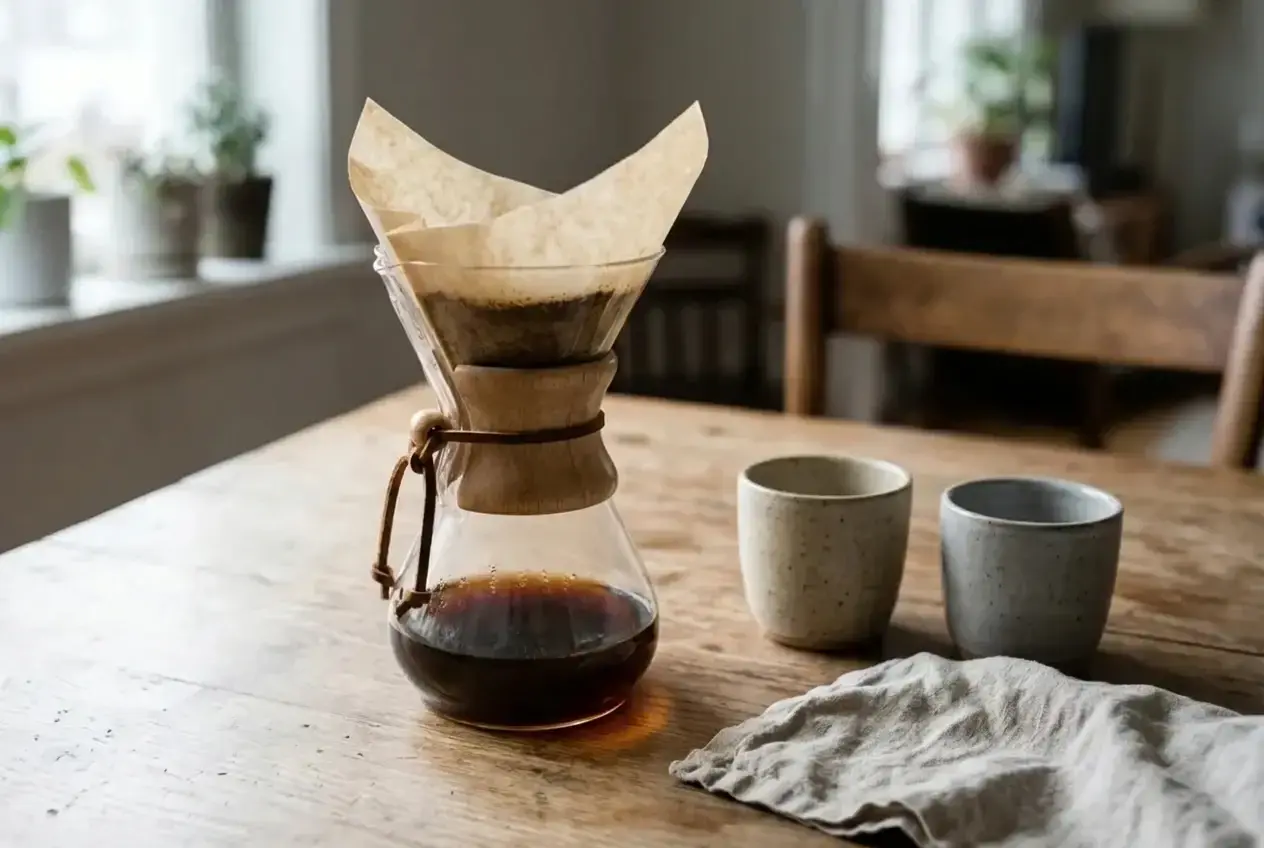
The Chemex is for people who want a clean, crisp, light cup, and often for people who brew for more than one person. The glass carafe doubles as the serving vessel, so you can brew and pour at the table. It also looks good on a kitchen counter, which matters to some buyers.
Choose the Chemex if:
-
You prefer a clear, tea-like cup over a heavy, full-bodied one.
-
You often make coffee for two or more people.
-
You don’t mind a slightly longer brew in return for a very clean result.
-
You like the idea of a brewer that is also a serving carafe.
Its thick filters trap more oils and fine particles than thinner papers, which creates that clean cup. The trade-off is that some people find the result less rich. If you enjoy a little body in your coffee, you may find the Chemex a bit light. If you do want to try one, my guide on how to use a Chemex walks through it step by step.
Who a Kalita Wave Is For
The Kalita Wave is for people who want good coffee without a steep learning curve. The flat bed and three small holes slow the drain and spread the water evenly across the coffee. Because of that, the brew is more forgiving of pouring that isn’t perfect, and the results tend to be consistent from one cup to the next.
Choose the Kalita Wave if:
-
You are new to pour over and want the easiest place to start.
-
You want a balanced, smooth cup that tastes good without much tweaking.
-
You brew most mornings and want consistency more than experimentation.
-
You are still building your technique and don’t want the brewer to punish small mistakes.
It won’t give you quite the sparkle a V60 can when dialed in well, and it won’t give you the Chemex’s very clean finish. What it does give you is reliability. If that sounds right, here’s how to use a Kalita Wave, and if you’re torn between it and the V60, the comparison of Hario V60 vs Kalita Wave goes into more detail.
The Secret Compromise You Make With Every Choice
Every brewer asks you to give something up, and knowing what before you buy saves you from disappointment.
-
With the V60, you trade forgiveness for control. You get the widest range of flavor, but you have to pour carefully to reach it.
-
With the Chemex, you trade body and speed for clarity. The cup is very clean, but it is lighter and takes longer.
-
With the Kalita Wave, you trade some peak brightness for ease. It is hard to brew badly, but it rarely reaches the highest highs a V60 can.
If you can’t decide, the Kalita Wave is the compromise that most people are happy with. It sits between the other two: more forgiving than the V60, a little more body than the Chemex, and a medium brew time. That makes it the safest first purchase if you’re unsure of your taste.
Think about which of these trade-offs bothers you least. If you hate fiddling, avoid the V60. If you want a fuller cup, skip the Chemex. If you want the maximum from a great bag of beans and don’t mind the effort, the V60 is worth it.
The Difference in Grind Size
Grind size is the biggest practical difference between the three, because each brewer drains water at a different speed.
-
V60: medium-fine. The big hole drains fast, so a finer grind slows things down enough for good extraction.
-
Kalita Wave: medium. The small holes and flat bed slow the flow on their own, so you don’t need to go as fine.
-
Chemex: medium-coarse. The thick filter already restricts flow, and a grind that is too fine can clog it and stall the brew.
Use these as starting points and adjust by taste. If the coffee tastes weak or sour, grind a little finer. If it tastes bitter or heavy, grind a little coarser. Change one thing at a time so you know what caused the difference.
A good burr grinder matters more here than almost any other piece of gear, because it produces a more even grind than a blade grinder. For recommendations, see the best grinder for pour over coffee, and for more on sizing, read the best grind size for pour over coffee.
The Difference in Filters
The filter shapes the cup as much as the brewer does, and each of these three uses a different one.
-
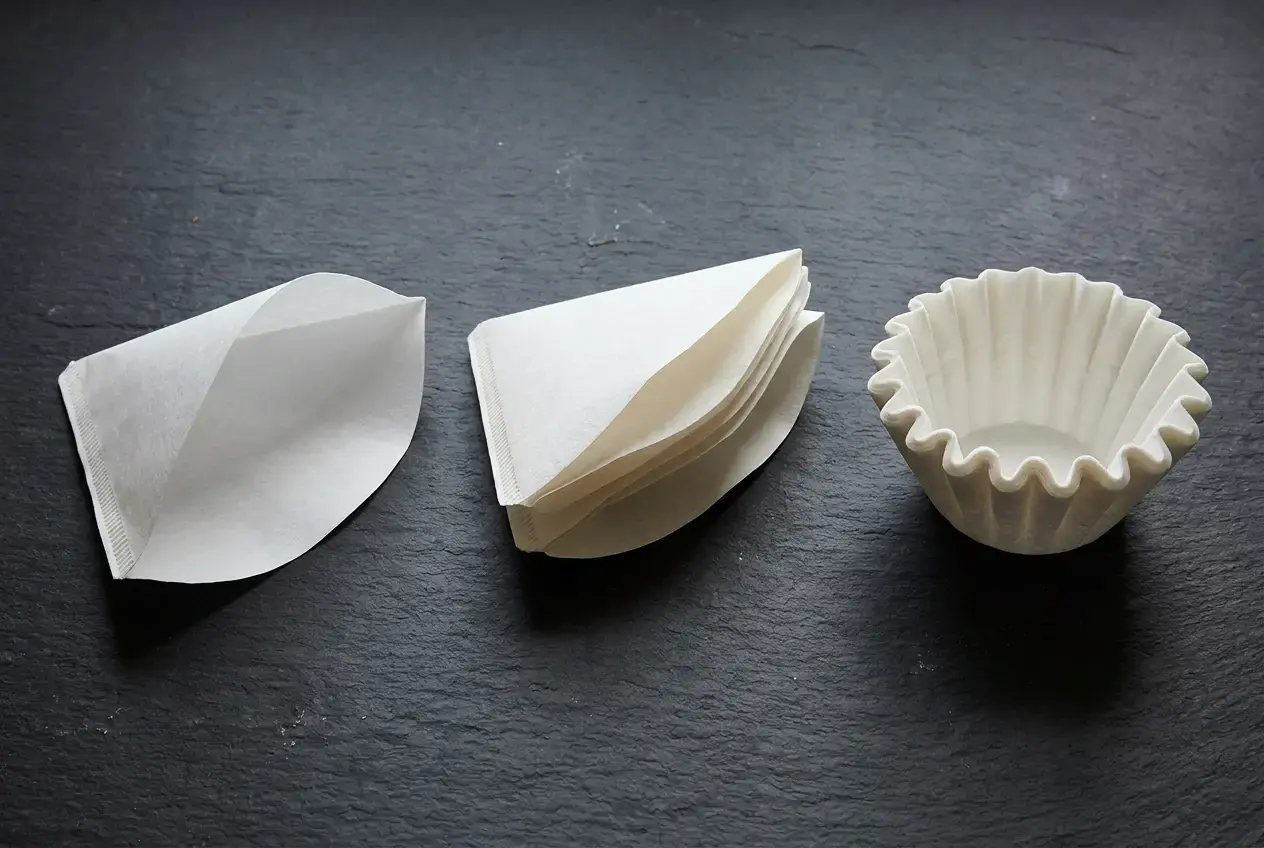
V60 filters are thin paper cones. They let water through quickly and give a bright, lively cup.
-
Chemex filters are thick, bonded paper that you fold into a cone. The thicker side goes against the spout. They hold back more oils and sediment, which is why Chemex coffee tastes so clean.
-
Kalita Wave filters are pleated, with a wave pattern that keeps the paper from sticking flat against the dripper wall. This gives the water room to flow evenly.
You can’t swap filters freely between brewers, because each is made for its brewer’s shape. Buy the right filters when you buy the dripper, and rinse every one before brewing to remove the papery taste.
Filters also come bleached or natural, and the choice affects what you taste. The article on bleached vs natural coffee filters explains how to choose.
The Difference in Brew Time
Brew time follows from the brewer, the filter, and the grind together. Rough targets for a single cup using the 20g to 320g example are:
-
V60: about 2:30 to 3:30
-
Kalita Wave: about 3:00 to 4:00
-
Chemex: about 4:00 to 5:00
A faster brew is not better or worse. The V60 is quick because it drains fast, and the Chemex is slower because of its thick filter. Treat the time as feedback. If your V60 takes much longer than expected, the grind may be too fine. If your Chemex finishes in far less time than it should, it may be too coarse.
If you want to keep track of your time and your ratio accurately, a scale with a built-in timer helps. The guide to the best coffee scales for precision pour over extraction covers your options. When something goes wrong, the pour over troubleshooter can help you work out which variable to change.
Your Checklist
Go through these questions and note which brewer you pick most often.
Choose the V60 if you:
-
Like bright, fruity, expressive coffee
-
Enjoy experimenting with grind and pour
-
Already have, or will buy, a gooseneck kettle and a scale
-
Brew mostly for yourself and don’t mind a learning curve
Choose the Chemex if you:
-
Prefer a clean, crisp, light cup
-
Often brew for two or more people
-
Don’t mind a longer brew time
-
Like a brewer that also serves the coffee
Choose the Kalita Wave if you:
-
Are new to pour over
-
Want a balanced, smooth cup with little fuss
-
Value consistency from morning to morning
-
Want a forgiving brewer while you build your technique
Whichever you choose, start with 1:16, water at about 200°F, a 30 to 45 second bloom, and a slow, even pour. Then adjust one thing at a time.
Go over this checklist and pick the brewer that best fits your routine, your lifestyle, and most importantly your taste.