
If your pour over coffee tastes bitter, sour, weak, or even flat, chances are your ‘re making one or more of these pour over coffee brewing mistakes. The good news is, most of these issues can be fixed with a simple tweak to your grind size, brew ratio, water temperature, or pouring technique.
This list breaks down the 10 pour over coffee mistakes that are most likely ruining your cup, and what to do instead. Get ready for better homemade coffee, one simple change at a time.
| If You’re Coffee Tastes… | It’s Likely Because: |
| Bitter | Coffee grounds are too fine. |
| Sour | Coffee are too coarse. |
| Weak | Too much water. |
| Muddy | The coffee grounds are not consistent. |
| Flat | Your beans have gone stale. |
Pour Over Coffee Mistake 1: Wrong Grind Size
Grind size is more important for pour-over than almost any other brewing method. Too fine, and your coffee can get over-extracted, making it bitter and harsh. Too coarse, and you’ll end up with weak, sour, under-extracted coffee. For most pour-over setups (like a V60 or Chemex), a medium-fine to medium grind works best. Think slightly finer than sand, but not as powdery as espresso.
How to Fix It:
- Use a burr grinder if possible; they make a much more consistent grind than blade grinders.
- Experiment with grind settings. If your coffee tastes bitter, try a coarser grind. If it’s sour or too light, go a bit finer.
- Ask your local coffee shop to grind beans for pour over if you’re not ready for a home grinder.
This small adjustment can make a big difference in flavor, so it’s definitely worth dialing in your grind size. For a deep dive in grind size, Best Grind Size For Pour Over Coffee is a great resource.
Pour Over Mistake 2: Using Stale or Pre-ground Coffee
Coffee beans start to lose their flavor as soon as they’re ground, and stale beans won’t ever produce a great cup. Pre-ground coffee from the store has usually lost a lot of its aroma and those bright flavors that make pour-over shine.
How to Keep Coffee Fresh:
- Buy whole beans and grind them right before brewing.
- Store beans in an airtight container, away from sunlight and moisture.
- Avoid stocking up on huge bags unless you drink a ton of coffee; smaller bags stay fresher.
Fresh beans are the foundation for good pour over, so this one’s really important.
Pour Over Mistake 3: Using The Wrong Water
Since pour over is mostly water, any off-flavors from your tap water will end up in your cup. Chlorinated, overly hard, or super soft water throws off the balance, leaving you with coffee that can taste flat, metallic, or just weird.
Better Water = Better Coffee:
- Use filtered or bottled water if your tap water doesn’t taste good on its own.
- Avoid distilled water; a little bit of natural mineral content actually helps extraction.
- Try making coffee with different water to see if the taste improves.
Good water makes every other part of your coffee routine more rewarding. Even a small change in water can give your cup extra clarity and brightness, especially if you’ve never tried switching it up before. If you care about your pour over, water is a crucial but often overlooked detail.
For a deep dive on water quality, The Best Water For Pour Over Coffee is a good resource.
Pour Over Mistake 4: Skipping The Filter Rinse
Paper filters can give off a papery flavor if they’re not rinsed properly before brewing. I used to skip this step or forget about it, but a quick rinse with hot water clears out any residue and also preheats the dripper, which helps keep the temperature steady throughout your brew.
How to Rinse:
- Place the paper filter into your dripper.
- Pour hot water over and around the filter to wet it completely.
- Dump out the rinse water before brewing.
This takes just a few seconds and really improves the final cup. The difference is subtle, but if you’re after clean flavor, don’t skip this step.
Pour Over Mistake 5: Pouring Too Fast or Too Slow

If you pour water way too fast, it rushes through the grounds and under-extracts the coffee, leaving you with a sour, weak cup. Pour too slowly, and you risk over-extraction, making things bitter. Getting that even, steady pour is key for a balanced brew.
Tips for the Right Pour:
- Use a goose-neck kettle for more control.
- Pour slowly in a steady spiral, starting from the middle and moving outwards.
- Total brewing time (from first pour to last drip) should usually be around 2.5 to 4 minutes, depending on your setup and the recipe.
Practice makes perfect, so don’t stress too much; it’s easy to dial in with a bit of repetition and focus. Paying attention to your pouring rhythm can be the missing step to an all-around better brew.
To really dial in your ideal pour time, I recommend checking: The Ideal Pour Over Coffee Brew Time
Pour Over Mistake 6: Skipping The Bloom Phase
The “bloom” is a step where you pour just enough water to soak all the grounds, letting them puff up as trapped gases are released. Skipping this causes uneven extraction and leaves some grounds dry, robbing you of full flavor and aroma. This step has a big impact, especially with freshly roasted beans.
How to Bloom:
- Pour about twice as much water (by weight) as you have coffee grounds; usually 30-40 grams of water for 15-20 grams of coffee.
- Let the grounds soak for 30-45 seconds before pouring the rest of your water.
You’ll notice better aroma and a smoother, more balanced cup after making this a regular part of your brew method. It also looks pretty cool when the grounds puff up nicely.
To gain a deeper understanding of the blooming process, see: How To Bloom Pour Over Coffee
Pour Over Mistake 7: “OFF” Water Temperature
Too hot and you’ll end up with bitter, scorched flavors. Too cold, and the coffee will taste thin or overly sour. For pour-over, the sweet spot is usually between 195°F and 205°F (about 90°C to 96°C).
Simple Ways to Get It Right:
- If you don’t have a thermometer, let boiling water rest for 30 seconds before pouring.
- Most electric kettles come with temperature settings, making this even easier and more accurate.
- Be consistent; wild temperature swings make it hard to get similar results each time you brew.
Getting this right means more flavor and less bitterness (or sourness) in your cup. Temperature is often overlooked, but it’s one of those little tweaks that can pay off immediately. To learn more, check out How Water Temperature Impacts Pour Over Coffee Extraction
Pour Over Mistake 8. Bad Coffee To Water Ratio
Adding too many grounds or not enough water makes for thick, overpowering coffee. Too few grounds or too much water creates watery, dull results. Nailing the right ratio is one of the simplest ways to get repeatable, tasty coffee every time you make it.
The Ratio I Use:
- I like a stronger cup so for me it is about 1:15; so for every 1 gram of coffee, I use 15 grams of water. Example: 20 grams coffee for 300 grams water.
- Coffee scales are affordable and super useful for consistency and timing, but measuring scoops and your phone timer can work in a pinch.
- Adjust based on taste; if your coffee’s too strong, go with a bit more water. If it’s too weak, add a little more coffee next time.
Minor tweaks here can make a huge difference in getting your cup just right for your preferences. It’s all about matching your taste, and keeping notes helps you repeat your successes.
Pour Over Mistake 9. Neglecting Regular Maintenance
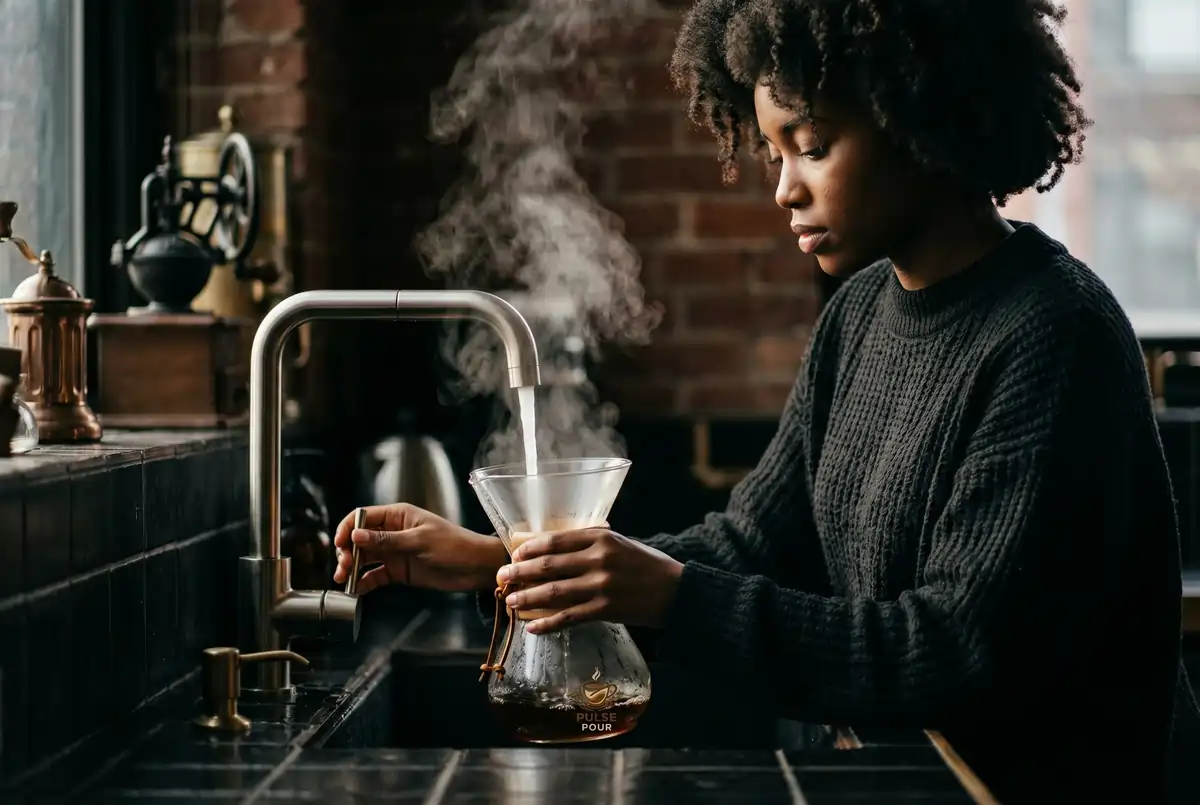
Old coffee oils and residue build up on your dripper, kettle, and grinder, eventually sneaking their way into your cup. This creates off-flavors and can dull even the best beans. I’ve found that keeping everything clean is an easy way to take up a notch any brewing method.
How to Keep Gear Fresh:
- Rinse drippers, carafes, and your kettle with hot water after each use.
- Give your grinder a deep clean every couple of weeks to clear out stale grounds and oil buildup.
- Check out “How To Clean A Pour Over Coffee Maker” for more tips.
Clean equipment makes for a noticeably tastier, fresher cup. Don’t let oil and leftovers ruin your carefully sourced beans.
Pour Over Mistake 10. Not Adjusting For Beans Or Setups
Every coffee bean and pour over setup has its own quirks. While a good base recipe works most of the time, really dialing in your flavor means being open to minor adjustments, especially if you change beans or try new gear.
What to Tweak:
- Grind size. Some beans work better a little finer or coarser, depending on how dense or oily they are.
- Brew time. Heavier roasts sometimes shine with slightly shorter brews, while lighter roasts usually need a bit more time.
- Water ratio and temperature. A high-altitude bean might come alive with hotter water, for example, while a dark roast may be smoother with cooler brews.
I like to use the pulse pour tasting journal to help me find my favorite recipes for each bean and setup. It’s handy for quick reference and helps me remember what worked or didn’t last time. Tracking your experiments is a fun way to learn and gives you your own record of success. You can grab your copy below!
Extra Tips for Better Pour Over Coffee
Beyond the main mistakes, there are some easy upgrades worth tracking down:
- Use freshly roasted beans from a local roaster for the brightest flavors; beans that are a week or two off-roast are usually the sweetest.
- Preheat your mug or carafe so your brew stays hotter and more flavorful for longer.
- Take a minute to stir or gently swirl the coffee slurry mid-brew to keep extraction even and get the most out of your grounds.
- If you want to give a boost to your skills, consider attending a coffee workshop or online class to check out new techniques and recipes from professionals.
- Try pairing your pour over with different foods or desserts; sometimes the right snack brings out totally new sides of your cup.
Pour over can seem fiddly, but with practice and a few tweaks, it’s easy to brew eye-catching café-quality coffee at home. I encourage experimenting with small changes; you might stumble upon a new favorite with just a minor switch up. With each brew, you’ll get sharper at spotting what works and what doesn’t, so never be afraid to tweak things as you go.
Final Thoughts
Every pour over coffee fan makes mistakes along the way. What matters is catching the little things and having fun experimenting. Tweak your grind, freshen up your beans, pay a bit more attention to timing and ratios, and the taste will keep getting better. Once you’ve found your groove, that perfect cup is just a few minutes away each morning. And as you get comfortable with the basics, you’ll find new ways to set free the flavors and create a morning ritual that you genuinely look forward to.
Hello,
Thank you for the article. It’s interesting how many little factors can change the final cup of coffee. I’ve definitely skipped steps like rinsing the filter before, so I might start paying more attention to that. Out of all these mistakes, which one do you see people making the most?
Thanks for reading!
I’m glad you’re starting to pay more attention to some commonly overlooked steps as your pour over game levels up. There are a lot of small mistakes that can throw off the flavor, but the most common is probably not experimenting with grind size.
Rinsing the filter isn’t probably as important as dialing in the grind size. It is important, don’t get me wrong. It’s just that I believe the grind size will have a more prominent effect on the brew,
Cheers!
This was such an eye‑opening read. I had no idea how much small details like water quality, grind consistency, and even rinsing the filter could change the flavor so dramatically. I really appreciated how simple and approachable you made each step — it felt encouraging instead of overwhelming. The breakdown of common mistakes was super helpful, especially the reminder to adjust things based on different beans. This makes me excited to slow down and actually enjoy the process instead of rushing through it. Thank you for such a clear, practical guide!
Hey, thank you so much—I really appreciate that! I’m glad it helped make everything feel a bit more approachable.
It’s amazing how those small details can make such a big difference, but the best part is you don’t have to get everything perfect right away. Even just focusing on one or two things—like grind consistency or water quality—can noticeably improve your cup.
For anyone else reading this, don’t feel like you need to master it all at once. Take it one step at a time, experiment a little, and enjoy the process. That’s where the fun (and the best coffee) really comes from.
Really glad it sparked that excitement for you—appreciate you reading!
This was a great read. I’ve definitely made a few of these mistakes myself, especially early on. For me, the biggest game changer was realizing how much grind size and water quality actually affect the final cup. I used to think coffee just tasted “off” sometimes, but it was really those small details.
The bloom step was another one I used to skip, not realizing how much flavor I was leaving behind. Once I started doing that consistently, it made a noticeable difference.
I like how you broke everything down in a simple way without overcomplicating it. It makes it feel a lot more approachable for someone trying to improve their morning routine.
Thanks so much — I’m really glad it resonated with you.
That’s such a relatable experience too. A lot of people assume coffee is just “off” some days, when in reality it’s often things like grind size, water quality, or skipping the bloom that quietly change the whole cup. It’s amazing how much those small adjustments can improve the flavor once you start paying attention to them.
I’m really happy the post felt simple and approachable — that’s always the goal. Pour over doesn’t have to feel complicated to feel rewarding, and even small changes to your morning routine can make a noticeable difference.
Thanks again for reading and sharing that — comments like this are always great to hear.
Hi there,
This guide is awesome! I never realized how many tiny details can make or break a pour-over cup—especially the bloom step and water temperature. I usually just eyeball it, but it sounds like a scale and thermometer could make a huge difference. Do you have a favorite method for experimenting with grind size for different beans without wasting too much coffee?
Thanks so much — really glad it helped! It’s amazing how much those little details can change the final cup.
A good way to test grind size without wasting coffee is to change just one thing at a time and make small adjustments between brews. Keep your dose and water the same, then go a little finer if the cup tastes sour or weak, or a little coarser if it tastes bitter or slow.
That’s also exactly why I love using a tasting journal—it makes it so much easier to track what worked with each bean and dial things in faster next time.