
Pour-over coffee shows off what is in your beans, but a cup can still come out flat, sour or bitter. The cause is usually one of a handful of variables you control: the beans, the grind, the water, the ratio, the pour and the brew time. This guide goes through each one and what to change when the cup tastes off.
The sweet, fruity, floral or chocolatey notes printed on a bag of coffee only show up when the extraction is balanced. Pouring hot water over grounds is the easy part. Getting the details right is what lets those notes come through.
Step 1: Pick the Right Beans for Pour-Over
Flavor starts with the beans. Fresh, specialty-grade coffee gives you far more to work with than an old bag from the grocery shelf. Look for a roast date on the bag and aim for beans roasted within the last two weeks or so. A local roaster is often the easiest source. Single-origin bags are a good choice because they let you taste what a particular region or farm produces.
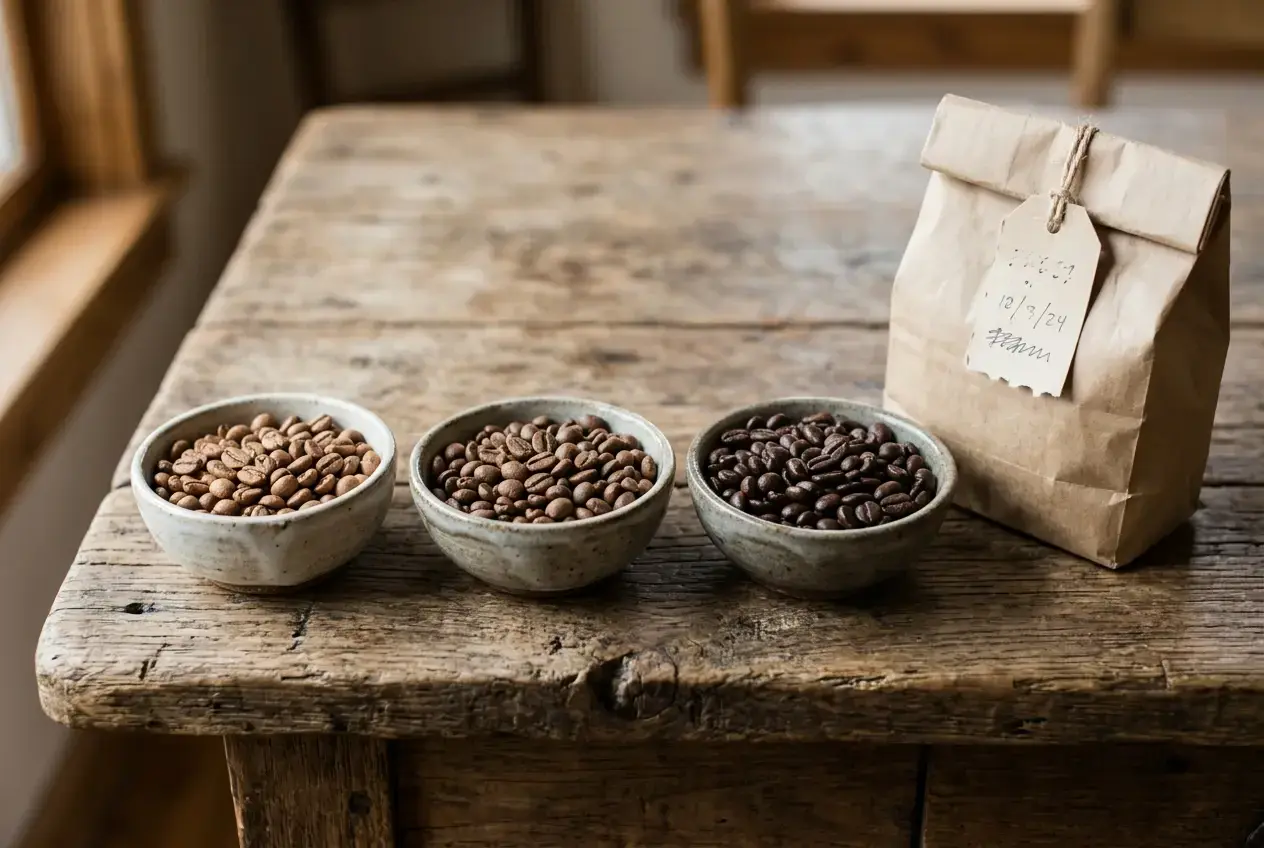
Roast level and origin point you toward different flavors:
-
Fruity or floral: a light roast from Ethiopia or Kenya.
-
Nutty, chocolatey or sweet: beans from Latin America, especially Colombia or Guatemala.
-
Bright and citrusy: Central American coffees are worth a try.
Buy whole beans and grind them right before brewing. Ground coffee goes stale quickly, and the delicate aromatics are the first thing to fade. How you keep the bag matters too, and this guide on how to store coffee beans for better flavor and freshness covers it.
Step 2: Dial In the Right Grind Size
Grind size controls how fast water pulls flavor out of the coffee. Too fine and the water extracts too much, which tastes bitter and harsh. Too coarse and it extracts too little, so the cup tastes weak or sour. A medium-coarse grind, a little finer than sea salt, is a good starting point for most pour-over brewers.
From there, change one thing at a time:
-
Bitter or harsh? Grind a little coarser.
-
Sour or watery? Grind a little finer.
Even particle size matters as much as the setting. A burr grinder produces more uniform grounds than a blade grinder, so the water extracts evenly instead of over-extracting the fine bits and under-extracting the large ones. If you are shopping for one, there is a review of the top manual grinders for pour-over. For a closer look at settings, see the best grind size for pour-over coffee.
Step 3: Watch Your Water Quality and Temperature
A cup of coffee is roughly 98 percent water, so the water has a big effect on taste. Tap water with a strong chlorine smell or a lot of dissolved minerals can dull the subtle notes in your beans. Filtered or bottled spring water is a simple fix. If your tap water is hard, a basic filter pitcher for daily brewing is an inexpensive place to start.
Temperature is the other half. Water between 195°F and 205°F works for most coffees, and roast level helps you choose within that range:
-
Lighter roasts: 200 to 205°F brings out bright, crisp notes, because light roasts are dense and extract more slowly.
-
Darker roasts: around 195°F keeps bitterness down, because dark roasts extract easily.
Our guide on how to brew pour-over coffee by roast level goes into this further.
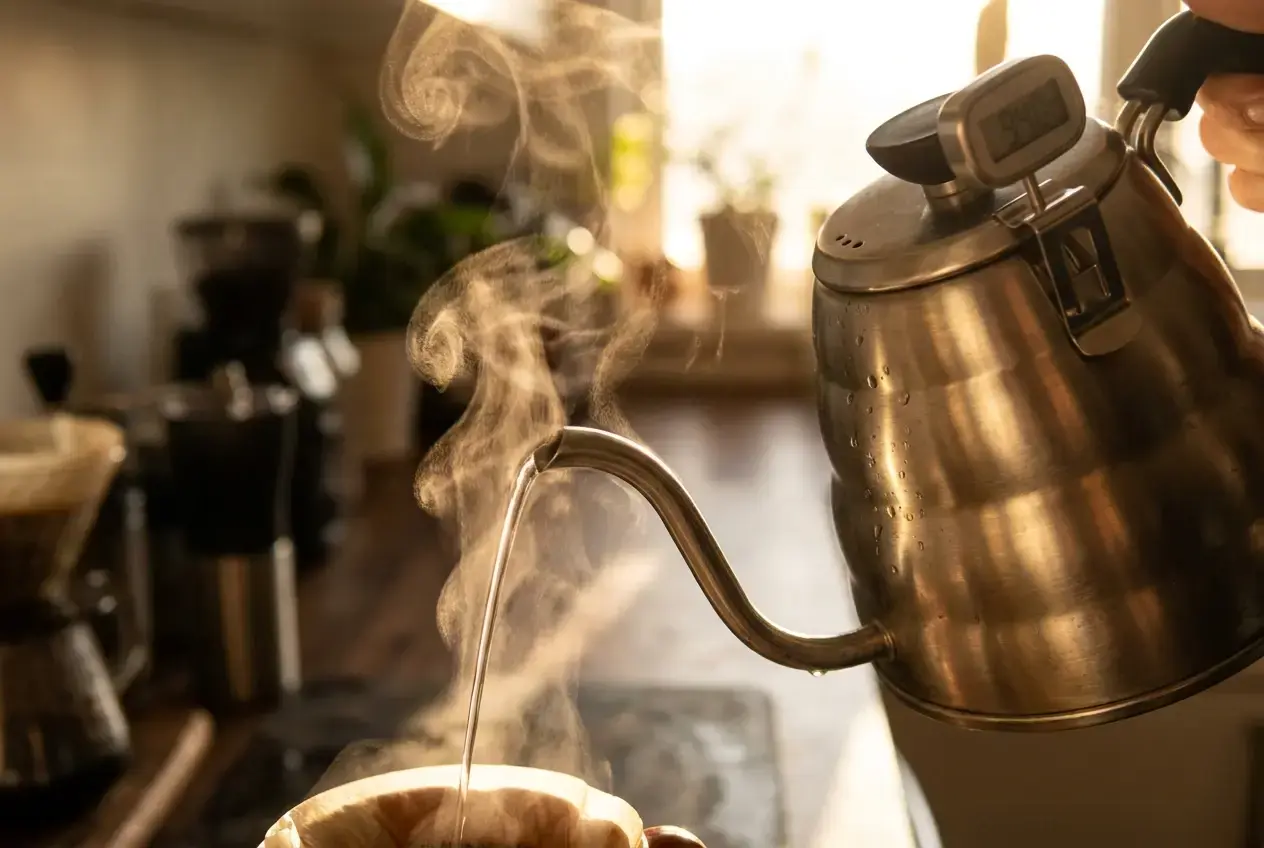
A gooseneck kettle makes it much easier to control both the flow and the aim of your pour, and many models include temperature control. If you are comparing options, see the best gooseneck kettles for precision pour-over brewing. A plain thermometer also works if your kettle has no temperature setting.
Step 4: Nail Your Ratio and Coffee Dose
The standard starting ratio is about 1:16, which means one part coffee to sixteen parts water by weight. For example, 20 grams of coffee takes 320 grams of water. Changing the ratio changes strength and character. A stronger cup tends to emphasize heavier, chocolatey notes, while a lighter one lets brighter or floral flavors stand out.
Here is how that looks with 20 grams of coffee:
-
1:15 (300 g water): bolder and richer.
-
1:16 (320 g water): the balanced starting point.
-
1:17 (340 g water): lighter, with more delicate notes.
A digital scale makes this repeatable, because scoops and eyeballed pours vary from day to day. Our review of the best coffee scales for precision pour-over extraction lists good options. Even small changes in coffee and water amounts change the cup, so adjust in small steps.
Step 5: Perfect Your Pouring Technique
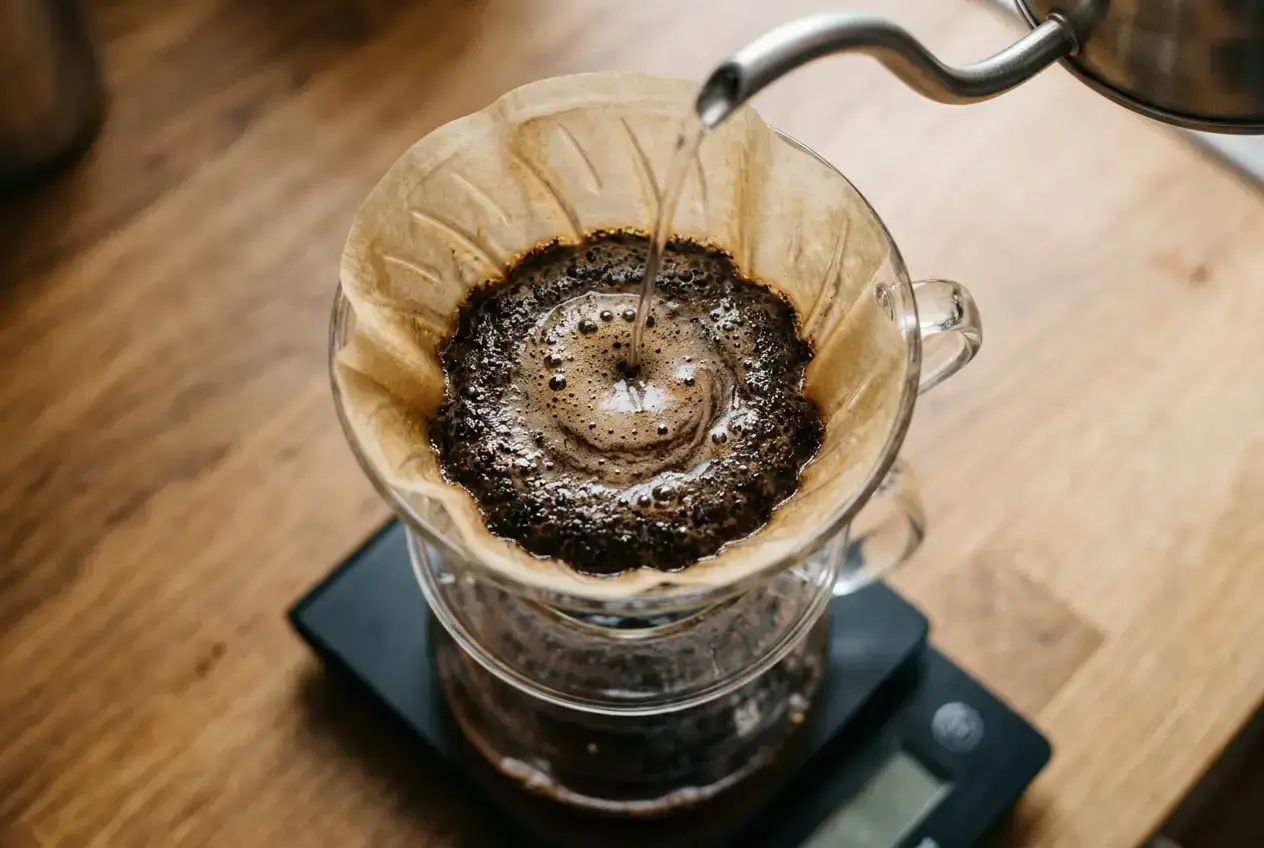
How you pour affects how evenly the grounds extract. A slow, steady spiral from the center outward wets all the coffee evenly. Pouring too fast or aiming at one spot can leave some grounds under-extracted while others are over-extracted, which gives a muddy or harsh cup.
Most pour-overs have two stages:
-
Bloom: pour about twice the coffee’s weight in water (40 grams for 20 grams of coffee) and wait 30 to 45 seconds. Fresh coffee releases trapped carbon dioxide during this time, which lets the water contact the grounds more evenly afterward.
-
Main pour: add the rest of the water in slow circles, keeping the coffee bed level and avoiding the filter walls. Spread this over about 2 to 3 minutes.
If you want more control, you can split the main pour into several smaller additions. This is explained in how to use the pulse pour technique.
Step 6: Master Brewing Time and Agitation
Total brew time and agitation, such as a gentle swirl or a light stir, both change how much gets pulled from the grounds. Time is also a useful clue when you are diagnosing a cup.
-
A brew that finishes in under 2 minutes will probably taste thin or sour. Most pour-overs land around 3 to 4 minutes.
-
Too much agitation can push bitterness up, but a small amount helps the grounds brew evenly. One or two light stirs or a gentle swirl is plenty.
Write down your time and technique each time you brew. When you find a cup you like, those notes let you make it again.
Step 7: Taste, Take Notes, and Tweak
Tasting is how you find the hidden notes. Sip slowly while the coffee is still warm, then again as it cools. Flavors often shift as the temperature drops, so citrus may show up first, then caramel, then a floral finish. If tasting notes feel hard to pin down, this guide to tasting coffee flavor notes keeps it simple.
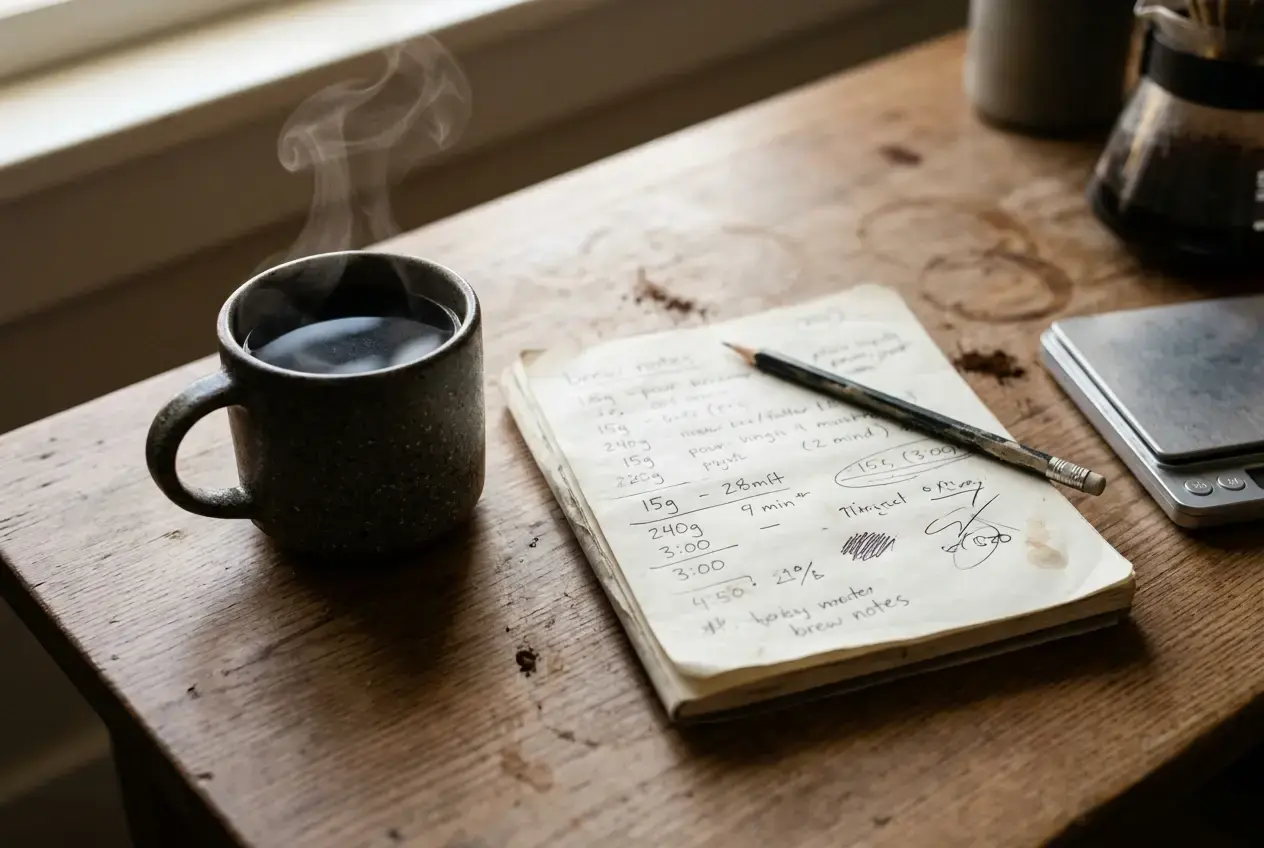
Two habits make your adjustments useful:
-
Change only one variable per brew, such as grind size or ratio, so you know what caused the difference.
-
Write down what you changed and what you tasted. Over time you will see which settings suit each bean.
If you want to test a change without wasting a whole bag, dialing in pour-over coffee with just a few grams of beans shows how.
Common Questions About Pour-Over Flavor
Why does my pour-over taste bitter?
Bitterness usually means over-extraction. Try a coarser grind, pour more slowly, and lower the water temperature a few degrees. The Pour Over Troubleshooter walks through other common problems by taste.
How can I make fruity or floral notes stand out more?
Use fresh, light-roasted beans, slightly hotter water and an even pour. Rinsing a paper filter with hot water before adding the coffee removes papery flavors that can cover delicate notes. If you are weighing paper types, bleached vs natural coffee filters compares them.
Is there a best type of pour-over brewer?
Chemex, Hario V60, Kalita Wave and Melitta cones all make good coffee. The V60 and Chemex tend to give a cleaner, brighter cup, while the Kalita and Melitta tend to give more body. Trying different drippers with the same beans shows you which one you like. For a direct comparison, see Hario V60 vs Kalita Wave.
Simple Action Steps to Improve Your Brew
-
Buy a bag of fresh single-origin beans and grind right before brewing.
-
Start at 1:16, then change one variable at a time, beginning with grind size and pour speed.
-
Write down each change and how the cup tasted.
Better pour-over comes from small, deliberate changes and a habit of tasting carefully. If you have a brewing tip or a discovery of your own, share it in the comments.
This is a well-structured guide that clearly explains how small adjustments can significantly influence pour-over flavor extraction. I appreciate how you break down key variables bean freshness, grind size, water quality, and pouring technique while encouraging readers to experiment and track their results. The practical tips around ratios, bloom, and brew time are especially useful for home brewers looking to refine their process. Overall, it’s a great resource for anyone wanting to better understand and unlock the full flavor potential of their coffee beans.
Thank you for the feedback,
I hope you found something you can use to make your next pour-over extraordinary!
Cheers!
-Brandyn
This was such an enjoyable and insightful read. I love how you explained flavor development in a way that feels both scientific and totally approachable. The breakdown of grind size, bloom technique, and water flow made me realize how many subtle adjustments can unlock completely different notes in the same beans. It’s amazing how much nuance is hiding in a cup when you slow down and pay attention. I’m curious which adjustment you think surprises people the most when they’re trying to bring out new flavors.
Hey, I really appreciate that—glad you enjoyed it!
You nailed it too, that’s exactly what makes pour over so interesting… those small adjustments can completely change the cup. It’s kind of wild how much is “hidden” in the same beans until you start tweaking things.
If I had to pick one that surprises people the most, I’d say grind size. Even a small change there can shift the flavor way more than people expect. After that, bloom technique is a close second—it doesn’t seem like much, but it really impacts how evenly everything extracts.
Have you tried adjusting one variable at a time yet? That’s usually where things start to click.
As a high school graduate who is officially trading the cafeteria mystery juice for “adult” caffeine, I am so ready to level up my morning ritual. I’m pretty much living on a budget right now, so I can’t be dropping $7 at a cafe every day just to feel like a functioning human.
I love this so much — and honestly, pour over is a great way to upgrade your coffee without turning it into an expensive daily habit. Once you get the basics down, you can make a really solid cup at home for a fraction of the cost of a café run.
It can feel a little intimidating at first, but that’s exactly why learning the simple fundamentals matters so much. A few small changes can make your morning coffee feel way more intentional without blowing your budget.
I’ve been getting more into pour-over coffee lately, and I didn’t realize how many small adjustments can actually change the flavor so much. From my experience, even something simple like grind size or pour speed can make a big difference, but it can also be a bit tricky to get it right consistently. I’ve had cups that tasted amazing one day and completely different the next. I like how you explained bringing out the hidden notes in the beans. It makes the whole process feel more intentional instead of just routine.
I’m not really into coffee myself, but my husband really enjoys it, and I didn’t realize you could change the flavor this much just by adjusting things like that.
Do you think water temperature or pouring technique has the biggest impact for beginners trying to improve their results? And is there a good starting point you’d recommend for someone still experimenting?
Thanks so much — I’m really glad that came through. That’s honestly one of my favorite things about pour over too: once you start noticing how those small changes affect flavor, it feels a lot more intentional and rewarding.
For beginners, I’d say grind size usually has the biggest impact at first, simply because it can shift the flavor so quickly from sour and weak to bitter and over-extracted. Water temperature and pouring technique definitely matter too, but getting your grind size into a good range first tends to make everything else easier to dial in.
A great starting point is to keep things as simple and consistent as possible: use fresh beans, aim for water around 195–205°F, and change just one variable at a time. That makes it much easier to figure out what’s actually improving the cup instead of guessing at everything at once.