
Pour-over coffee looks simple, but a balanced cup depends on a handful of details: grind size, water temperature, the coffee-to-water ratio, and how you pour. Skip one and the cup comes out bitter, weak, or muddy. Get them right and the result is clean, sweet, and full of flavor.
The process is also a calm way to start the day. After a few brews the routine becomes familiar, and you start to notice small differences in the cup. This guide is for beginners and casual home brewers who want a reliable method for pour-over coffee they will want to drink again tomorrow.
Step 1: Gather Your Pour-Over Coffee Gear
You do not need expensive equipment, but a few pieces make the brew easier to repeat. If you want a fuller shopping list, the guide to a pour over coffee kit covers each piece in more detail.
-
Dripper: Common choices are the Hario V60, Chemex, and Kalita Wave. Each has a different shape, but the basic process is the same.
-
Filter: Use the filter made for your dripper. Paper filters are easy to use and give a clean cup.
-
Kettle: A gooseneck kettle lets you pour slowly and control the flow. Electric and stovetop versions both work.
-
Fresh whole beans: Buy beans with a roast date on the bag and keep them in an airtight container.
-
Burr grinder: A burr grinder produces a consistent grind. Blade grinders chop unevenly, which makes the extraction uneven too.
-
Scale: A digital scale keeps your coffee-to-water ratio steady from one brew to the next.
-
Mug or carafe: Choose one that fits under your dripper.
If you can only buy two things at first, make them a good burr grinder and a dripper. The rest can be upgraded later.
Step 2: Use Fresh, Quality Coffee Beans
Beans affect flavor more than any other part of the process, so it pays to choose them with some care.
-
Roast date: Beans within a few weeks of roasting are usually at their best. Old beans lose aroma and taste flat.
-
Grind right before brewing: Ground coffee loses aroma much faster than whole beans.
-
Origins and roasts: Lighter roasts tend to bring more acidity and fruit notes. Medium and darker roasts tend to give more body and chocolate or nutty flavors.
-
Storage: Keep beans in a sealed container somewhere cool and dark. Air, heat, and light all speed up staling. The full details are in this post on how to store coffee beans.
Single-origin coffees with a light to medium roast show off what a pour-over can do, because the paper filter lets the fine flavors through. If you want to learn how the roast changes your brew, see how to brew pour over coffee by roast level. Small local roasters and bean subscriptions are good places to start, since the bags usually list tasting notes you can use to guess what you will like.
Step 3: Dial In Your Grind Size
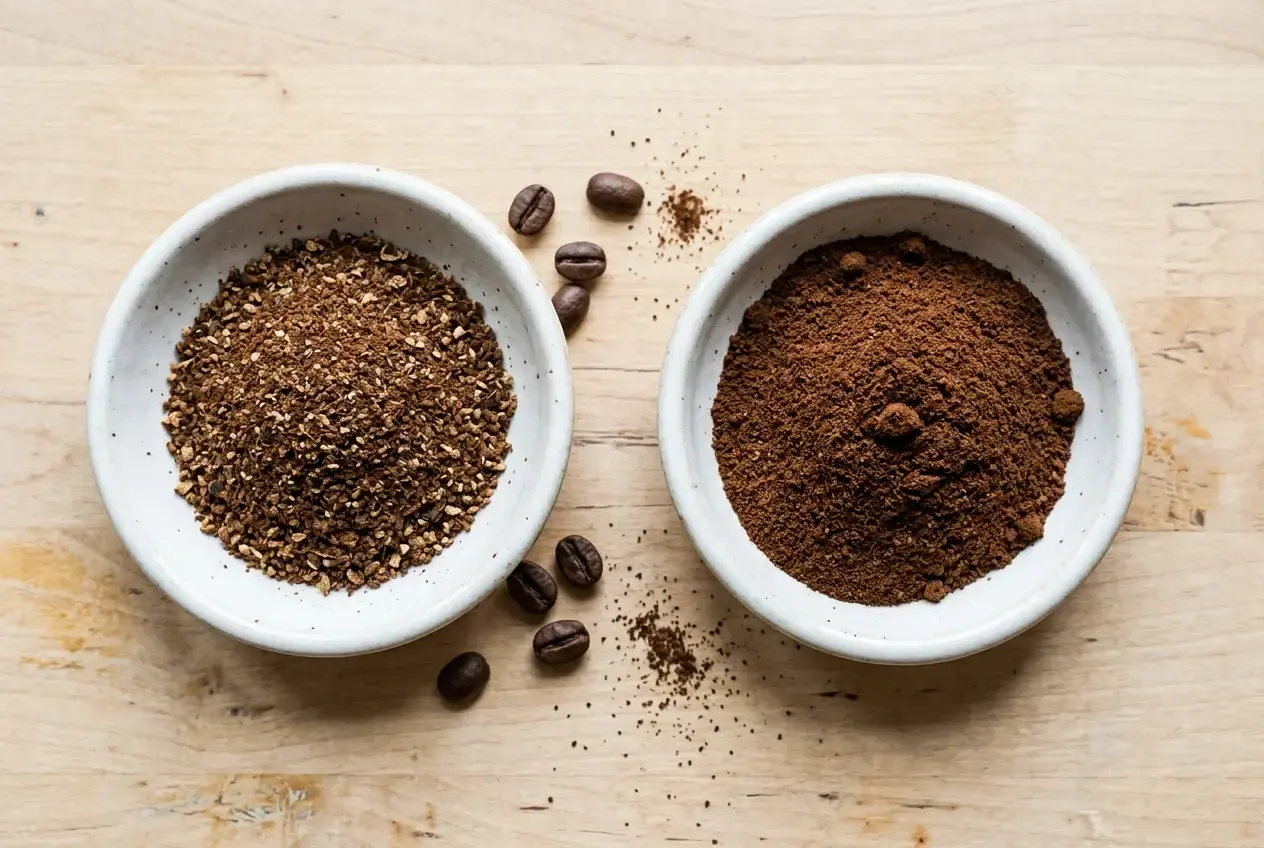
Grind size is the detail that trips up most home brewers. For pour-over, aim for a medium grind, about like coarse sand. The size controls how fast water moves through the coffee, and that controls how much flavor comes out.
-
Too fine: The water drains slowly and over-extracts the coffee, which tastes bitter and harsh.
-
Too coarse: The water runs through quickly and under-extracts the coffee, which tastes thin, sour, or watery.
Every grinder is different, so treat the first setting as a starting point. A good place to begin is a little finer than you would use for French press and coarser than for an automatic drip machine. If the cup is bitter, go coarser. If it is sour or weak, go finer. Write down the setting each time along with how the cup tasted, and you will find your best setting faster. For more detail, read the best grind size for pour over coffee.
Step 4: Get Your Coffee-to-Water Ratio Right
A common starting range for pour-over is 1:15 to 1:17. That means 1 gram of coffee for every 15 to 17 grams (or milliliters) of water. A simple example for one large mug:
-
About 12 oz (350 ml): 22 g of coffee and 350 g of water, which is roughly 1:16.
To make it stronger, use more coffee for the same water, for example 20 g of coffee for 300 ml of water (1:15). To make it milder, use a little less coffee. Change the ratio in small amounts and keep everything else the same so you can tell what caused the difference.
A scale gives the most repeatable results. If you do not have one, a heaping tablespoon of coffee is roughly 5 to 7 grams, but that varies with the grind and the beans. There is a full walkthrough in how to make pour over coffee without a scale.
Step 5: Heat Your Water to the Right Temperature
Water temperature changes what the water pulls out of the coffee. Water that is too hot extracts harsh, bitter flavors, and water that is too cool leaves the cup flat or sour. A good range is 195 to 205°F (90 to 96°C).
Without a temperature-control kettle, bring the water to a boil and let it sit for about 30 seconds before you pour. Lighter roasts usually do well at the hotter end of the range, and darker roasts at the cooler end.
Step 6: Prepare and Rinse Your Filter
Place the filter in the dripper and rinse it with hot water. This does two useful things:
-
It washes out the papery taste that new filters can carry.
-
It warms the dripper and the mug, so the coffee stays hot longer.
Pour out the rinse water, add your ground coffee to the wet filter, and give the dripper a gentle shake to level the bed. If you are not sure which paper to buy, this comparison of bleached vs unbleached coffee filters explains the difference in the cup.
Step 7: Pour With Care
Pouring takes a little practice, but the method itself is short.
-
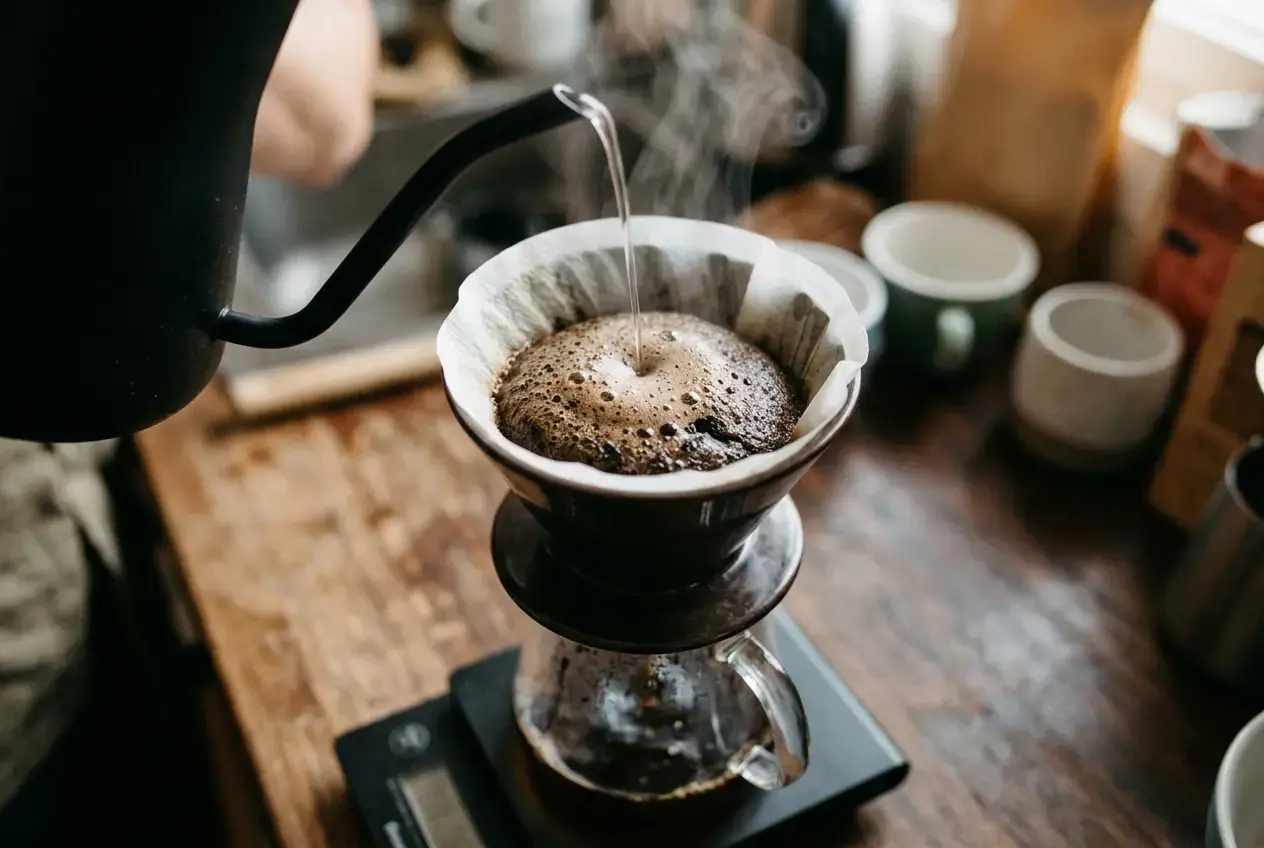
Bloom the coffee. Pour about twice the weight of your coffee in hot water, so roughly 44 g for 22 g of coffee. Make sure all the grounds are wet, then wait 30 to 45 seconds. The grounds will puff up as trapped gas escapes, and this lets the water extract evenly in the next pour.
-
Pour in slow circles. Add the rest of the water in a steady spiral, starting in the center and moving outward. Try to wet the grounds evenly and avoid pouring straight onto the filter wall. For a single mug, finish pouring by about 2 to 3 minutes.
-
Check the total time. A mug-sized brew usually finishes draining between 3 and 4 minutes. If it is much faster, grind finer. If it is much slower, grind coarser or pour a little faster.
Some brewers split the water into several smaller pours instead of one continuous pour. That approach is covered in how to use the pulse pour technique.
A timer makes the whole process easier to repeat. Note the time at the end of the bloom and the time at the end of the final pour, and compare them from brew to brew.
Step 8: Taste and Adjust
When the water has drained, remove the dripper, swirl the mug or carafe, and taste. The flavor changes as the coffee cools, so keep tasting for a few minutes. If you want help describing what you taste, try how to taste coffee flavor notes.
If the cup is not right, change one thing at a time: grind size, water temperature, or ratio. Changing several at once makes it impossible to know what helped.
-
Bitter: Grind coarser, use slightly cooler water, or pour a little faster.
-
Sour or weak: Grind finer, use more coffee, or use hotter water.
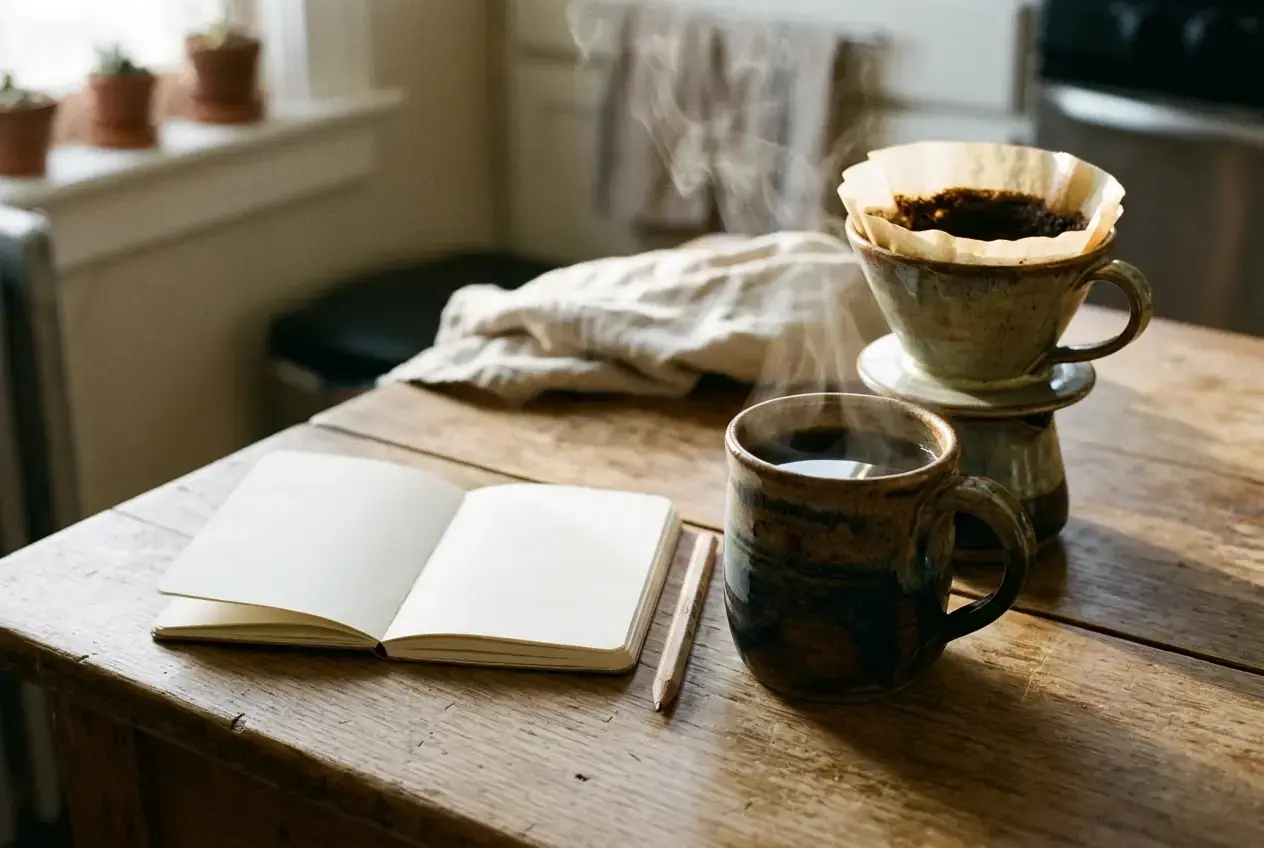
A small notebook helps. Record the beans, dose, grind setting, and time, plus a line about how it tasted.
Troubleshooting and Common Mistakes
Why does my coffee taste bitter?
The grind may be too fine, the water too hot, or the brew too long. Try a coarser grind first, then check the water temperature.
Why is my coffee weak or watery?
The grind is often too coarse, or there is not enough coffee for the amount of water. Try a finer grind or add a few grams of coffee. If you want a faster way to find the cause, the Pour Over Troubleshooter walks through each taste problem.
Do I need a gooseneck kettle?
No, but it helps. The narrow spout gives you much better control of where the water lands and how fast it comes out. With a regular kettle, pour slowly and evenly, and you can still get a good cup. If you decide to buy one, see the best gooseneck kettles for precision pour over brewing.
How do I clean my setup?
Paper filters can go in the trash or compost. Rinse the dripper and carafe with warm water after each use. Once a month, soaking them in a baking soda or vinegar solution removes built-up coffee oils.
Extra Tips for Better Pour-Over
-
Weigh your beans every time. It takes a few seconds and keeps results repeatable.
-
Give the slurry a gentle swirl or stir right after the bloom. This helps the grounds extract evenly.
-
Use filtered water if your tap water tastes of chlorine or minerals. Coffee is over 98 percent water, so water quality shows in the cup.
-
Try beans from different origins once your routine is steady. Changing only the beans shows you exactly what each coffee tastes like.
-
Pour a small taster cup and sip it as it cools. Sweetness and fruit notes often become clearer at lower temperatures.
Your Pour-Over Checklist for Tomorrow
-
Weigh your beans and grind them just before brewing.
-
Place the dripper, filter, and mug on the scale, and rinse the filter with hot water.
-
Heat the water to just under boiling and measure it against your ratio.
-
Bloom for 30 to 45 seconds, pour in slow circles, and note your total time.
-
Taste the coffee while hot and again as it cools, then change one variable for the next brew.
Happy to have found this article. I have never really been a coffee drinker, but just started my first office job in my 40’s. Always thought of coffee as just a vessel for caffeine and would drink it black. Great introduction and has my interest peaked. I think the ritualistic nature will be awesome, love the preparation and being able to control the process. I can see how there is a lot to play around experiment. Great tips on how to go about it. Just curious other than going for single origin, how do you find the best quality? especially when it comes to freshness and caffeine content? Never thought the grind size and technique would have such an impact as well. Excited to get started in my new hobby!
Thanks for reading — and welcome to the rabbit hole!
It’s funny how many people start exactly where you are: drinking coffee purely for caffeine and then discovering there’s a whole craft behind it. The ritual is honestly one of my favorite parts of pour-over as well.
For finding high-quality coffee, a few simple tips help a lot:
Check the roast date – Ideally within the last 2–3 weeks. Freshness matters much more than a “best by” date.
Buy from specialty roasters – Local roasters or reputable online roasters tend to prioritize quality beans and careful roasting.
Look for tasting notes and origin info – When roasters list the farm, region, and flavor notes, it’s usually a sign they care about quality.
Buy whole beans and grind fresh – This alone will dramatically improve flavor.
As for caffeine, most arabica coffees fall in a similar range. Lighter roasts feel stronger because of flavor brightness, but caffeine differences between roasts are usually pretty small.
The fun part now is exactly what you mentioned — experimenting with grind size, brew ratios, and different origins. Small tweaks can completely change the cup.
Enjoy the process, and feel free to come back and share what beans you end up trying first!
This was such a helpful and confidence‑boosting guide. I love how you broke each step down in a way that makes the whole process feel approachable instead of intimidating. The explanations about grind size, water temperature, and pouring technique were especially eye‑opening — it’s amazing how much those small adjustments can change the flavor. I also appreciated the reminder to enjoy the ritual and tweak one thing at a time. It makes the learning process feel fun instead of overwhelming. I’m curious — which step do you think makes the biggest difference for beginners who want a more consistent cup?
Hey, thank you—that really means a lot! I’m glad it made the process feel more approachable, because that’s exactly the goal.
I’d say for beginners, the biggest difference usually comes from dialing in grind size. It has such a direct impact on how the coffee extracts, and even small tweaks can take a cup from bitter or weak to really balanced.
After that, keeping your pour consistent helps a ton with repeatability. Once those two are in place, everything else gets a lot easier to fine-tune.
And I love that you mentioned the ritual side of it—that’s honestly half the experience. Appreciate you reading!
I really enjoyed how thorough this guide is on improving pour‑over coffee at home, from choosing the right equipment and fresh beans to dialing in grind size, water temperature, and mastering your pouring technique. It makes the process feel achievable even for someone who has never brewed this way before, and the step‑by‑step breakdown helps demystify what can otherwise feel like an intimidating ritual. After reading it, I’m curious: when experimenting with different beans, how do you recommend tracking adjustments like grind size and ratio so that you can repeat your best results consistently?
Thanks so much, I’m really glad the guide made pour over feel more approachable. That’s exactly what I hope Pulse Pour helps people do.
For tracking changes, I highly recommend keeping a simple brew journal. Write down the beans you used, grind size, ratio, water temperature, brew time, and a few tasting notes for each cup. It doesn’t have to be complicated. Just having a record of what worked, what didn’t, and what flavors stood out makes it much easier to repeat your best brews and learn faster from each adjustment.
That’s also why I created a coffee journal template and flavor wheel for readers. They’re really helpful for organizing your brews and putting words to the flavors you’re tasting. You can get both by joining my newsletter at https://pulsepour.com/free-coffee-tasting-journal-template-flavor-wheel/, and they’re designed to make dialing in your pour over a whole lot easier.
Really appreciate you taking the time to leave such a thoughtful comment.
This was a really clear breakdown, especially for something that can get weirdly complicated fast. One thing I’m still trying to dial in though—how much should you actually adjust your grind size versus your pouring technique when something tastes off? Like if my coffee ends up a little sour or weak, is that usually a grind issue or am I just pouring too fast? Also curious about bloom timing—do you personally stick to a strict 30–45 seconds every time, or does that change depending on how fresh the beans are? And last thing, for someone who doesn’t have a fancy gooseneck kettle, is it still worth trying to perfect the technique, or does that tool really make that big of a difference in getting a consistent cup?
Thanks so much — I’m really glad it helped make the process feel a little less overwhelming.
Those are great questions too, because when a cup tastes off, it can definitely be tricky to tell which variable is actually causing it. In most cases, if the coffee tastes sour or weak, grind size is usually the first thing I’d look at before pouring technique. A grind that’s too coarse often leads to under-extraction, which can make the cup taste thin, sharp, or a little hollow. Pouring too fast can contribute too, but grind size tends to have the bigger impact.
For bloom timing, I usually treat 30–45 seconds as a solid guideline rather than a strict rule every single time. Fresher beans often release more gas, so they may benefit from a slightly longer bloom, while older beans sometimes need less. I mostly watch for the bloom to settle down rather than forcing the exact same timing every brew.
And yes, it’s still absolutely worth practicing your technique even without a gooseneck kettle. A gooseneck does help with control and consistency, but it is not what makes or breaks good pour-over. You can still make a really enjoyable cup with a regular kettle by pouring slowly and staying as steady as you can. The main thing is controlling the flow as much as possible, not having perfect gear right away.
Really appreciate this comment — these are exactly the kinds of small details that help people improve without feeling like they need to overcomplicate everything.