
Pour-over coffee can taste clean, sweet and clear, and most disappointing cups come from a handful of fixable habits. Sour, bitter, flat or papery coffee almost always traces back to grind, water, timing or freshness. Each of those is something you control.
This list covers ten mistakes that commonly ruin a pour-over, what each one does to the taste, and what to change. If your cup never matches what you get at a café, start at the top and work down.
1. Using the Wrong Grind Size
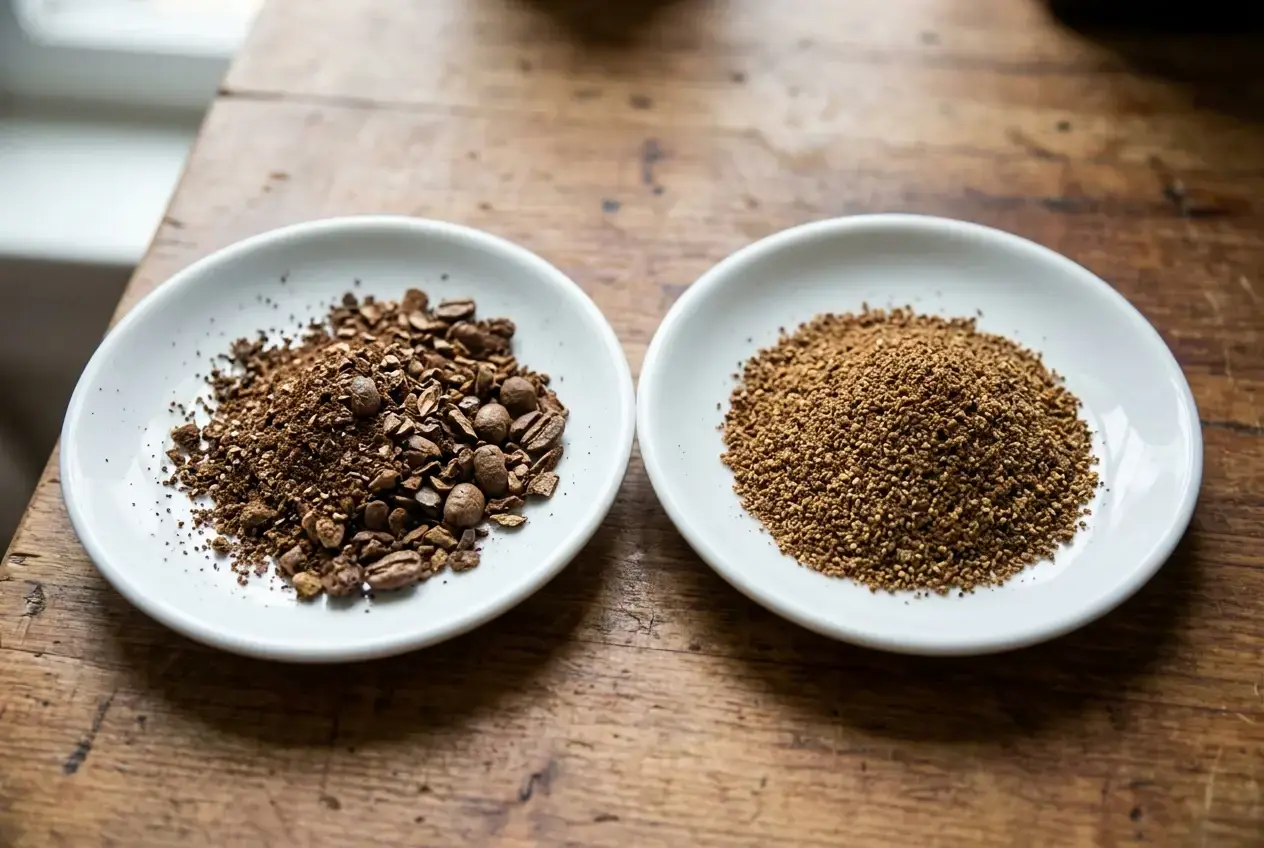
Grind size controls how fast water pulls flavor out of the coffee. Too fine, and the coffee overextracts, which tastes bitter and harsh. Too coarse, and it underextracts, which tastes weak and sour. For a V60, Chemex or Kalita Wave, a medium-fine to medium grind is the usual starting range, a little finer than sand and nowhere near as powdery as espresso.
-
Use a burr grinder if you can. It produces a far more even grind than a blade grinder, which makes a mix of dust and boulders. If you are shopping, the best manual grinders for pour over are reviewed on this site.
-
Change one thing at a time. If the cup is bitter, grind coarser. If it is sour or thin, grind finer.
-
If you do not have a grinder yet, ask your local coffee shop to grind a small amount for pour-over.
Our guide to the best grind size for pour over coffee explains how to read the taste and adjust.
2. Using Stale or Pre-ground Coffee
Coffee starts losing aroma as soon as it is ground, because far more of its surface is exposed to air. Pre-ground coffee that has sat in a bag or on a shelf tastes dull, and pour-over, which is a clean and delicate method, shows that dullness clearly.
-
Buy whole beans and grind just before you brew.
-
Keep beans in an airtight container away from light, heat and moisture. Here is how to store coffee beans for better flavor and freshness.
-
Buy smaller bags unless you drink a lot of coffee, so you finish them while they still taste good.
3. Ignoring Water Quality
A cup of pour-over is more than 98 percent water, so whatever your water tastes like ends up in the mug. Heavily chlorinated water can taste harsh or medicinal. Very hard or very soft water can make coffee taste flat or sharp.
-
If your tap water tastes unpleasant on its own, use filtered or bottled water.
-
Avoid distilled water. Coffee needs some dissolved minerals to extract properly, and distilled water has none.
-
Brew the same coffee with two different waters side by side. The difference is often easy to taste.
If every other variable is right and the cup still tastes off, water is one of the first places to look.
4. Skipping the Filter Rinse
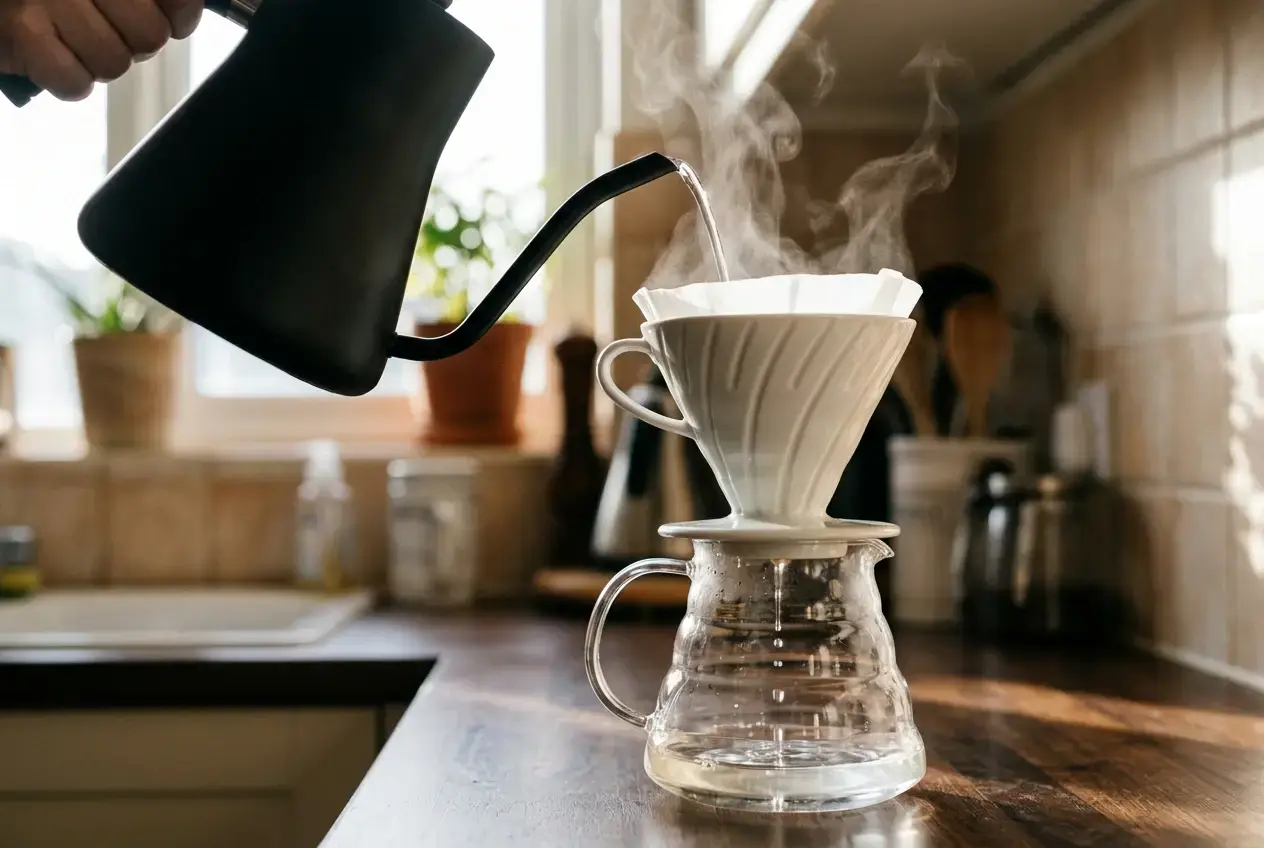
Paper filters can leave a papery taste in the cup. Rinsing the filter with hot water washes that out. It also warms the dripper and the vessel underneath, so the brew temperature stays steadier.
-
Fold and place the filter in the dripper.
-
Pour hot water over the whole filter until it is wet through.
-
Discard the rinse water before you add the grounds.
It takes about ten seconds. If you are curious whether your filter type matters too, compare bleached vs natural coffee filters.
5. Pouring Too Fast, Too Slow or Unevenly
A fast, careless pour pushes water through the bed of coffee before it extracts much, which gives a sour, weak cup. A very slow or stalled pour keeps water in contact with the grounds for too long and pushes the cup toward bitterness. Uneven pouring leaves some grounds over-extracted and others barely touched.
-
Use a gooseneck kettle. The narrow spout gives you control over flow rate and placement, and our review of the best gooseneck kettles for precision pour over covers the options.
-
Pour in slow, steady circles, starting at the center and moving outward, and avoid pouring directly on the filter wall.
-
Aim for a total brew time of roughly 2.5 to 4 minutes, depending on your dripper and recipe.
If you want more control, split the water into several smaller additions. That method is covered in how to use the pulse pour technique.
6. Skipping the Bloom
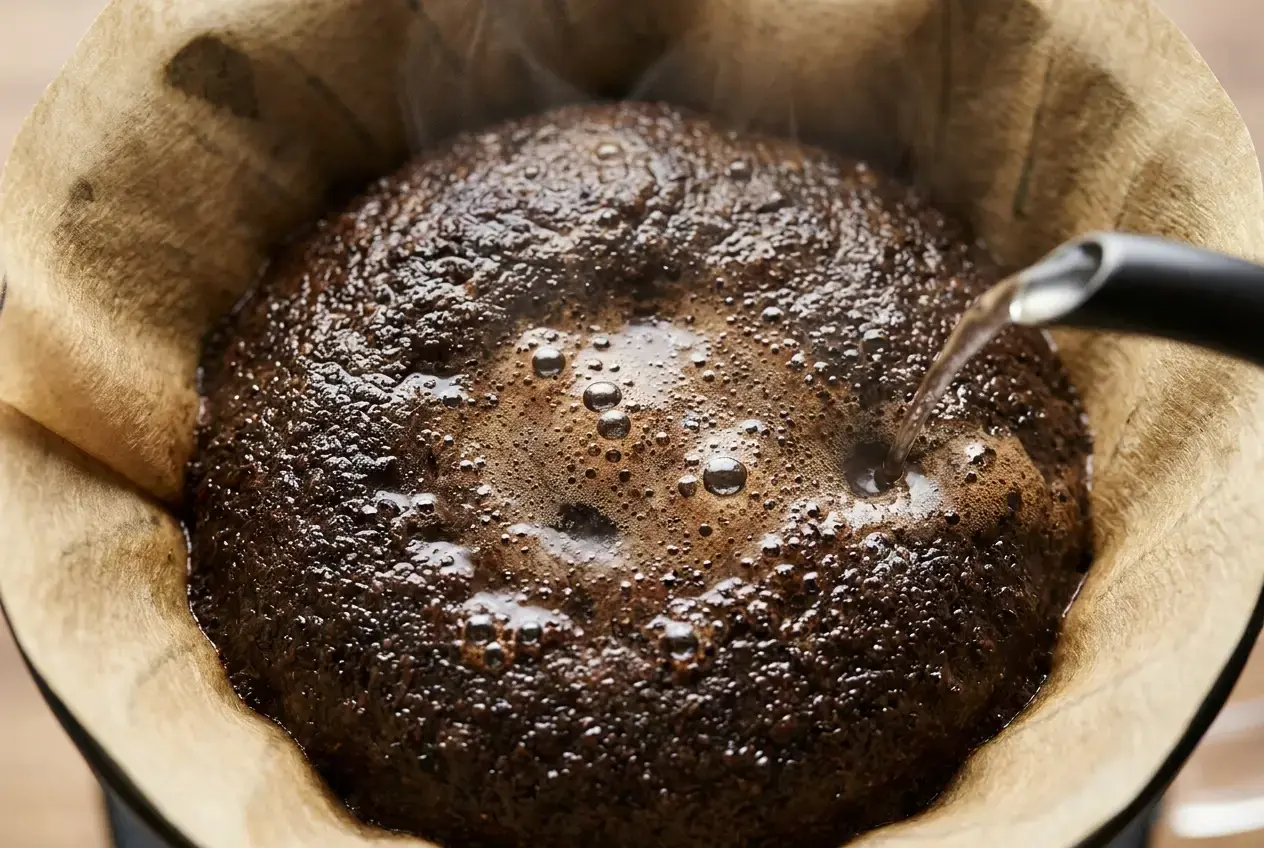
Fresh coffee holds carbon dioxide, which is released when hot water hits it. If you pour the full amount straight away, the escaping gas pushes water away from parts of the bed and extraction becomes uneven. A bloom is a small first pour that wets all the grounds and lets the gas escape before the main brew starts.
-
Pour about twice the weight of the coffee in water. For 15 to 20 grams of coffee, that is 30 to 40 grams of water.
-
Make sure every ground is wet, then wait 30 to 45 seconds before continuing.
Freshly roasted beans bloom the most, since they hold the most gas. Coffee that has gone stale barely puffs at all, which is a handy way to check how fresh your beans are.
7. Brewing with the Wrong Water Temperature
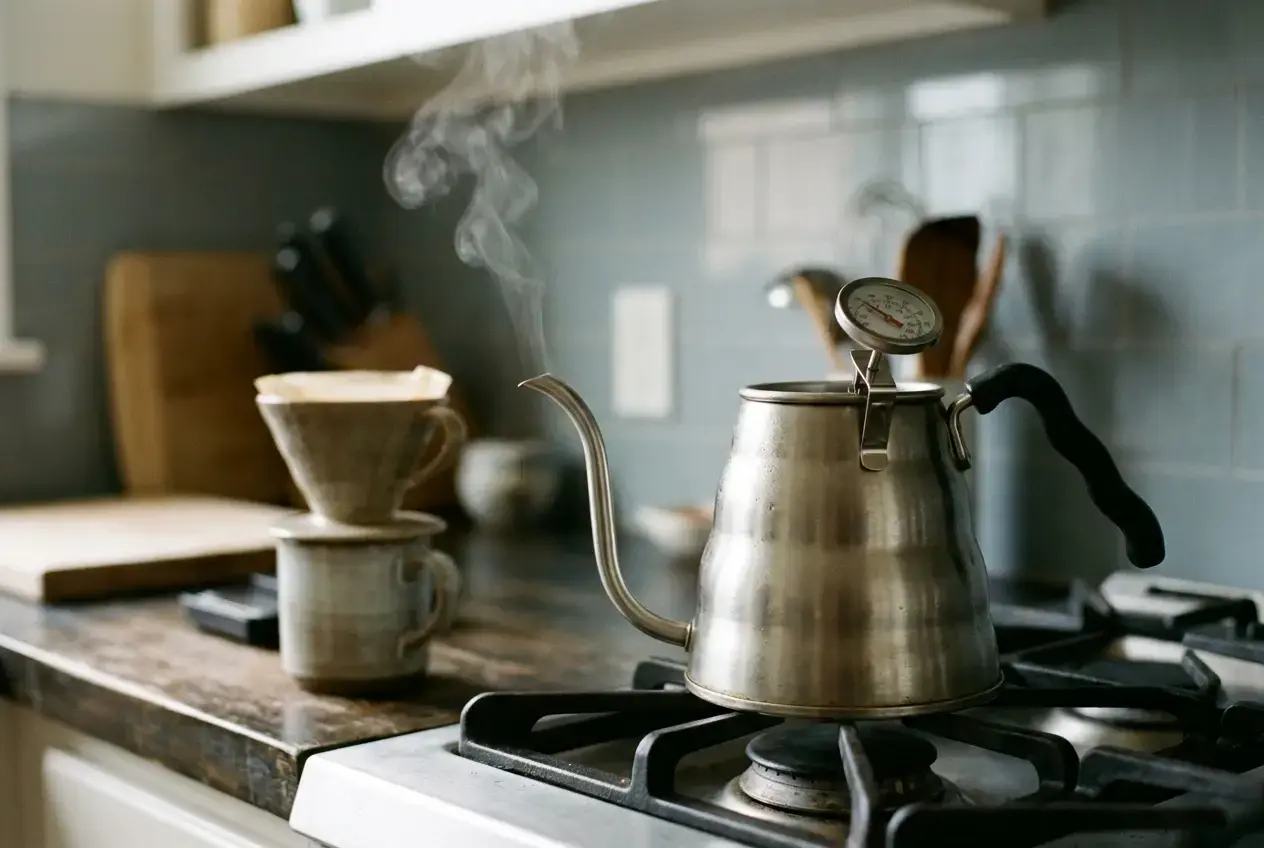
Water that is too hot extracts harsh, bitter compounds along with the sweetness. Water that is too cool leaves the coffee thin and sour. For most pour-over recipes, a range of 195°F to 205°F (about 90°C to 96°C) works well.
-
Without a thermometer, take the kettle off the boil and wait about 30 seconds before pouring.
-
A kettle with a temperature setting makes this repeatable.
-
Keep the temperature consistent from brew to brew. If it changes every time, you cannot tell what caused a difference in taste.
8. Getting the Coffee-to-Water Ratio Wrong
Too much coffee or too little water gives a heavy, overpowering cup. Too little coffee or too much water gives a watery one. A ratio fixes this by tying the amount of coffee to the amount of water.
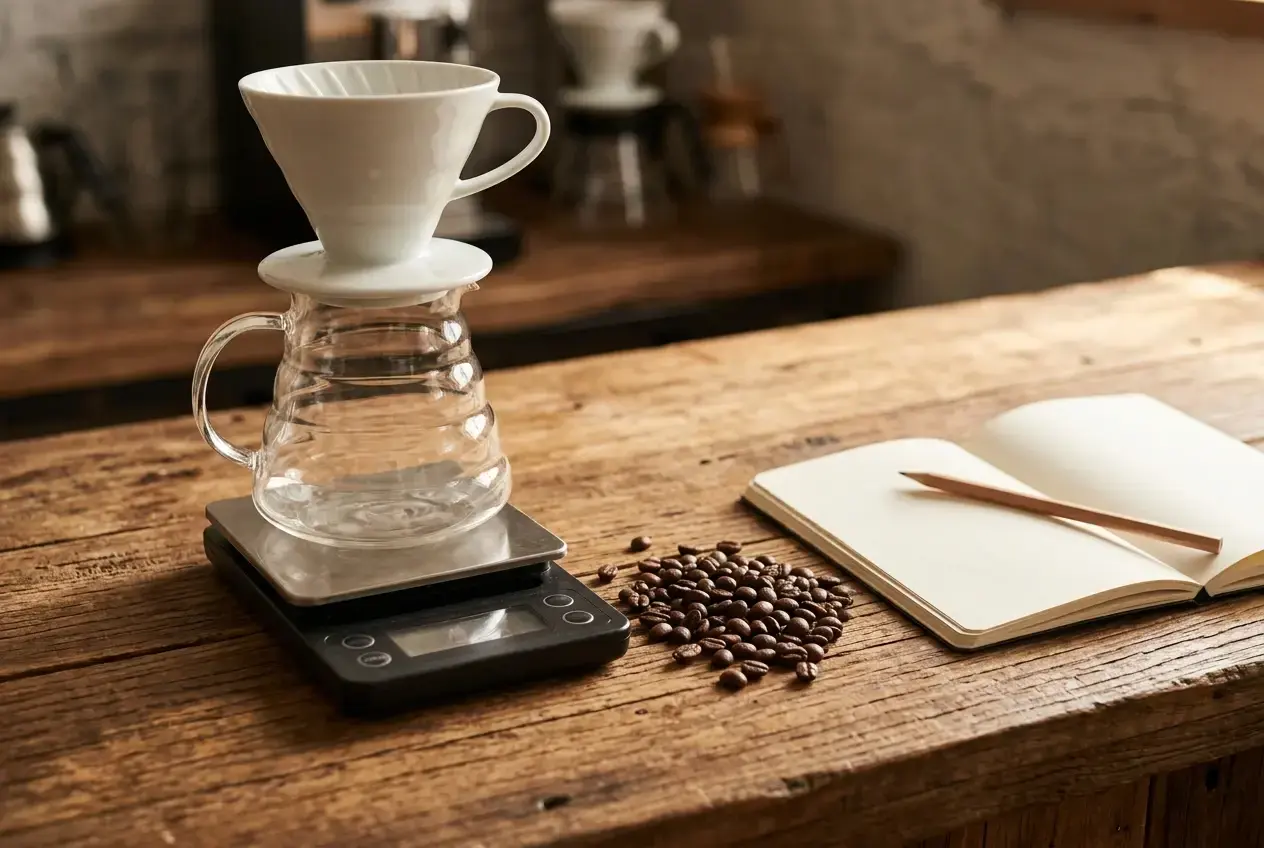
-
A common starting point is 1:16, or 1 gram of coffee to 16 grams of water. That means 20 grams of coffee for 320 grams of water.
-
Weigh both the coffee and the water. Scoops vary with how dense and how coarsely ground the beans are, so they are only a rough guide. Here are the best coffee scales for pour over.
-
Adjust to taste. If the cup is too strong, add more water next time. If it is too weak, add more coffee.
Write down the ratio you used with the result. Without notes it is hard to know which change made the cup better.
9. Neglecting Proper Cleaning
Coffee oils and fine particles build up on the dripper, carafe, kettle and grinder. Over time they go rancid and add stale, bitter or flat flavors to fresh coffee, however good the beans are.
-
Rinse the dripper and carafe with hot water after each use, and wash them with soap regularly.
-
Clean the grinder every couple of weeks to clear out old grounds and oil.
-
Check the manufacturer’s cleaning instructions for your kettle, since mineral scale from hard water can build up inside.
10. Not Adjusting for Different Beans or Setups
A recipe that works well for one coffee can taste off with another. Roast level, bean density, freshness and the dripper you use all change how the coffee extracts. A base recipe is a starting point, and the right result usually needs small adjustments.
-
Grind size: Dense, lighter-roasted beans often need a finer grind, while softer, darker beans can turn bitter quickly and often do better a bit coarser.
-
Water temperature: Darker roasts extract easily, so slightly cooler water can keep them smooth. Lighter roasts usually need water near the hot end of the range.
-
Brew time: If a coffee tastes sour, extend contact time a little. If it tastes bitter, shorten it.
For a fuller breakdown, see how to brew pour over coffee by roast level. If you want to find the right settings for a new bag without using up much of it, dialing in pour over with just a few grams of beans shows how.
A Few Extra Habits Worth Adding
-
Preheat your mug or carafe with hot water so the coffee does not cool quickly in a cold vessel.
-
Give the brewer a gentle swirl after the last pour so the grounds settle into a flat bed, which helps the final drain-down stay even.
-
Change one variable per brew. If you change grind, ratio and temperature all at once, you will not know which change helped.
Where to Go From Here
Most bad pour-overs have one main cause. If your cup is sour, look at grind, temperature and pour speed first. If it is bitter, check for a grind that is too fine, water that is too hot, or a dirty grinder.
If you want a quick way to match a taste problem to a fix, the Pour Over Troubleshooter walks you through it. And if you are still gathering equipment, the guide to building a pour over coffee kit lists what you need and what can wait.
Hello,
Thank you for the article. It’s interesting how many little factors can change the final cup of coffee. I’ve definitely skipped steps like rinsing the filter before, so I might start paying more attention to that. Out of all these mistakes, which one do you see people making the most?
Thanks for reading!
I’m glad you’re starting to pay more attention to some commonly overlooked steps as your pour over game levels up. There are a lot of small mistakes that can throw off the flavor, but the most common is probably not experimenting with grind size.
Rinsing the filter isn’t probably as important as dialing in the grind size. It is important, don’t get me wrong. It’s just that I believe the grind size will have a more prominent effect on the brew,
Cheers!
This was such an eye‑opening read. I had no idea how much small details like water quality, grind consistency, and even rinsing the filter could change the flavor so dramatically. I really appreciated how simple and approachable you made each step — it felt encouraging instead of overwhelming. The breakdown of common mistakes was super helpful, especially the reminder to adjust things based on different beans. This makes me excited to slow down and actually enjoy the process instead of rushing through it. Thank you for such a clear, practical guide!
Hey, thank you so much—I really appreciate that! I’m glad it helped make everything feel a bit more approachable.
It’s amazing how those small details can make such a big difference, but the best part is you don’t have to get everything perfect right away. Even just focusing on one or two things—like grind consistency or water quality—can noticeably improve your cup.
For anyone else reading this, don’t feel like you need to master it all at once. Take it one step at a time, experiment a little, and enjoy the process. That’s where the fun (and the best coffee) really comes from.
Really glad it sparked that excitement for you—appreciate you reading!
This was a great read. I’ve definitely made a few of these mistakes myself, especially early on. For me, the biggest game changer was realizing how much grind size and water quality actually affect the final cup. I used to think coffee just tasted “off” sometimes, but it was really those small details.
The bloom step was another one I used to skip, not realizing how much flavor I was leaving behind. Once I started doing that consistently, it made a noticeable difference.
I like how you broke everything down in a simple way without overcomplicating it. It makes it feel a lot more approachable for someone trying to improve their morning routine.
Thanks so much — I’m really glad it resonated with you.
That’s such a relatable experience too. A lot of people assume coffee is just “off” some days, when in reality it’s often things like grind size, water quality, or skipping the bloom that quietly change the whole cup. It’s amazing how much those small adjustments can improve the flavor once you start paying attention to them.
I’m really happy the post felt simple and approachable — that’s always the goal. Pour over doesn’t have to feel complicated to feel rewarding, and even small changes to your morning routine can make a noticeable difference.
Thanks again for reading and sharing that — comments like this are always great to hear.
Hi there,
This guide is awesome! I never realized how many tiny details can make or break a pour-over cup—especially the bloom step and water temperature. I usually just eyeball it, but it sounds like a scale and thermometer could make a huge difference. Do you have a favorite method for experimenting with grind size for different beans without wasting too much coffee?
Thanks so much — really glad it helped! It’s amazing how much those little details can change the final cup.
A good way to test grind size without wasting coffee is to change just one thing at a time and make small adjustments between brews. Keep your dose and water the same, then go a little finer if the cup tastes sour or weak, or a little coarser if it tastes bitter or slow.
That’s also exactly why I love using a tasting journal—it makes it so much easier to track what worked with each bean and dial things in faster next time.